Watzmann - East Face
Often referred to as the "highest wall in the Eastern Alps", it stands 1,900 m high and stretches for just under 3 km.
Trip description
Watzmann – East Face
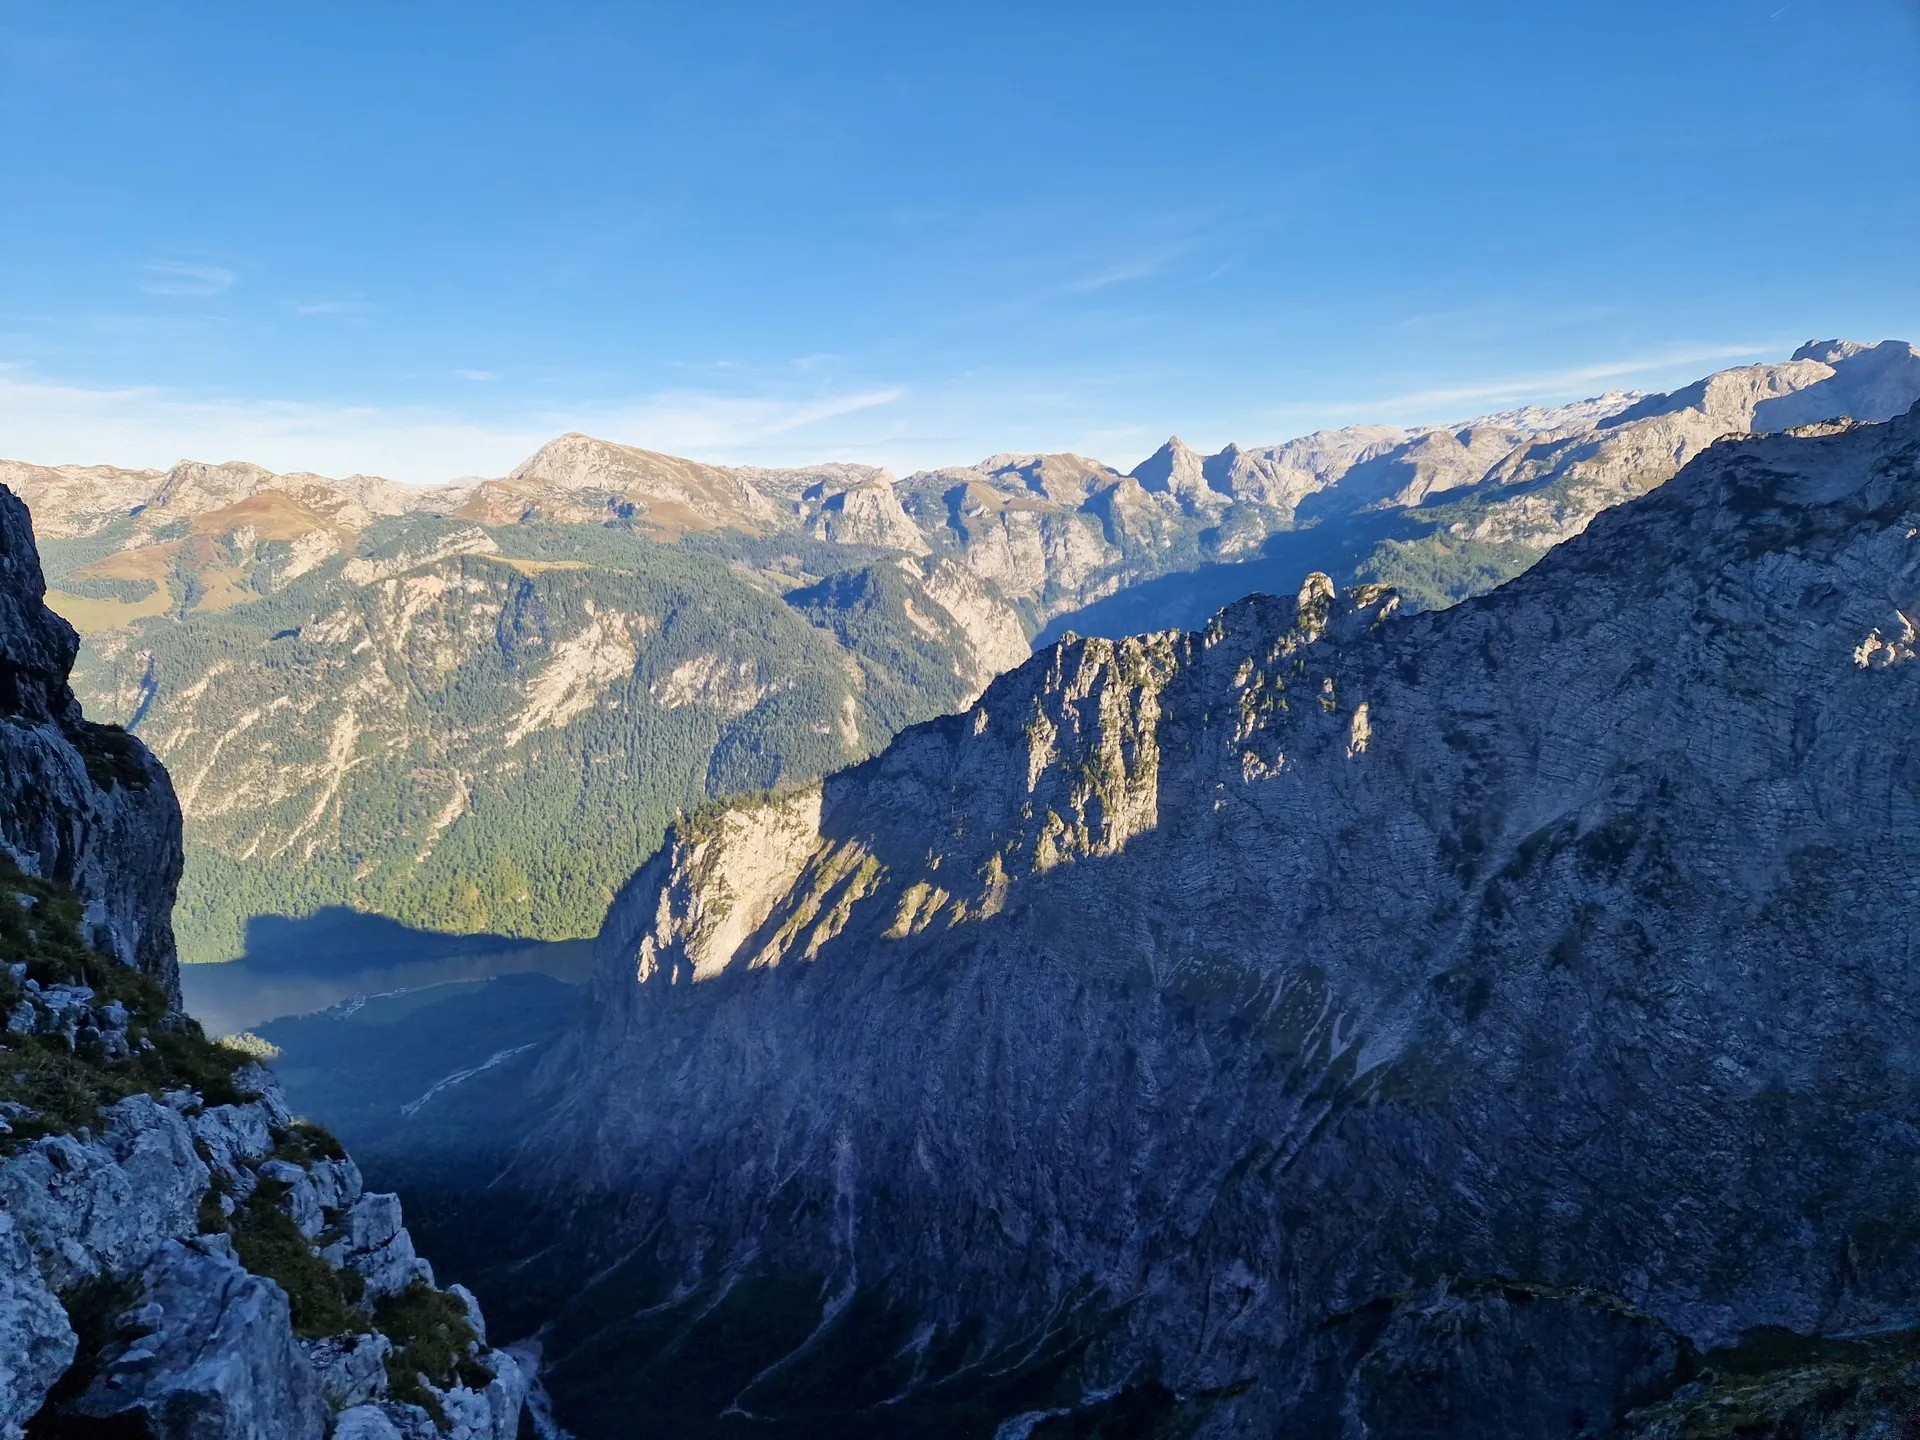
Watzmann is the third-highest mountain in Germany, and its East Face is an absolute classic of alpine climbing. Often referred to as the "highest wall in the Eastern Alps", it stands 1,900 m high and stretches for just under 3 km. This is no longer a weekend hike, but rather a technical climbing undertaking. You need to be prepared mentally, physically, and in terms of equipment.
The route includes climbing sections ranging from UIAA I to UIAA III/III+. That might not sound particularly challenging at first, but just think about the fact that we're talking about almost 2,000 vertical metres and often difficult-to-read terrain. This means our biggest enemy will be time. It's also important to bear in mind that only some exposed sections are equipped with fixed protection, generally those rated UIAA II and above, and certain parts of the face are quite loose, with rocks flying down from climbers above you.
So what does that leave us with? Terrain that's often difficult to navigate, falling rocks, unprotected climbing (so-called scrambling), and a 5-litre water supply plus all our equipment on our backs.
Hopefully, I've managed to put off all the inexperienced climbers by now, leaving only those enthusiasts who are genuinely serious about this and understand what they're getting themselves into :). So, let's get into it.
Getting Started
The whole expedition begins long before we even touch the East Face. The weather looks great, with the forecast calling for sunshine and a minimal chance of thunderstorms. This is extremely important because once we're on the face, a thunderstorm or rain would complicate everything drastically. That's not something we can afford to take lightly.
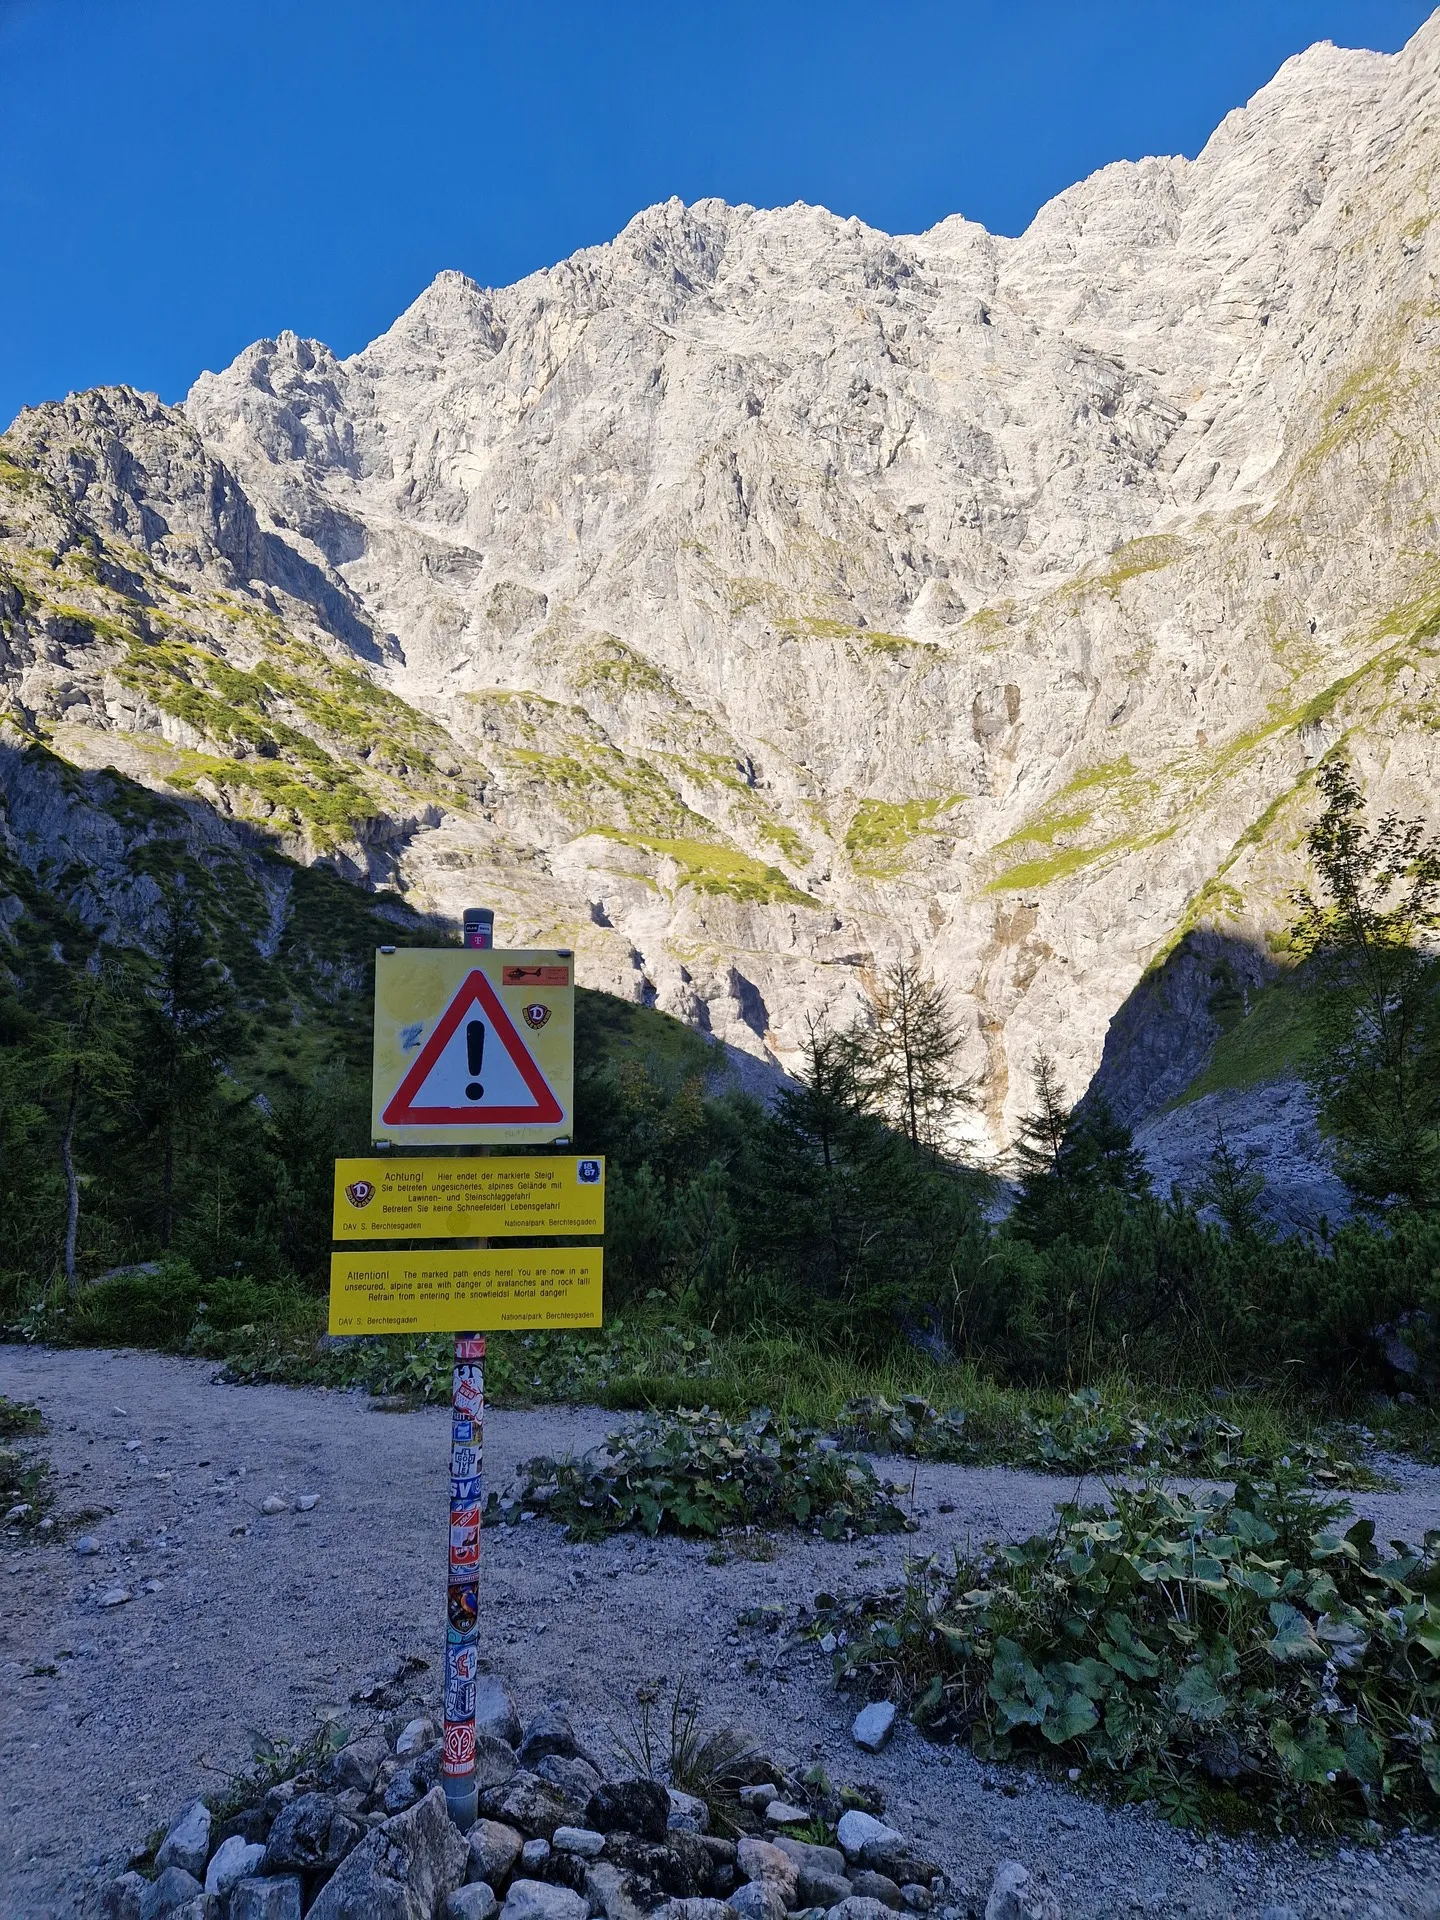
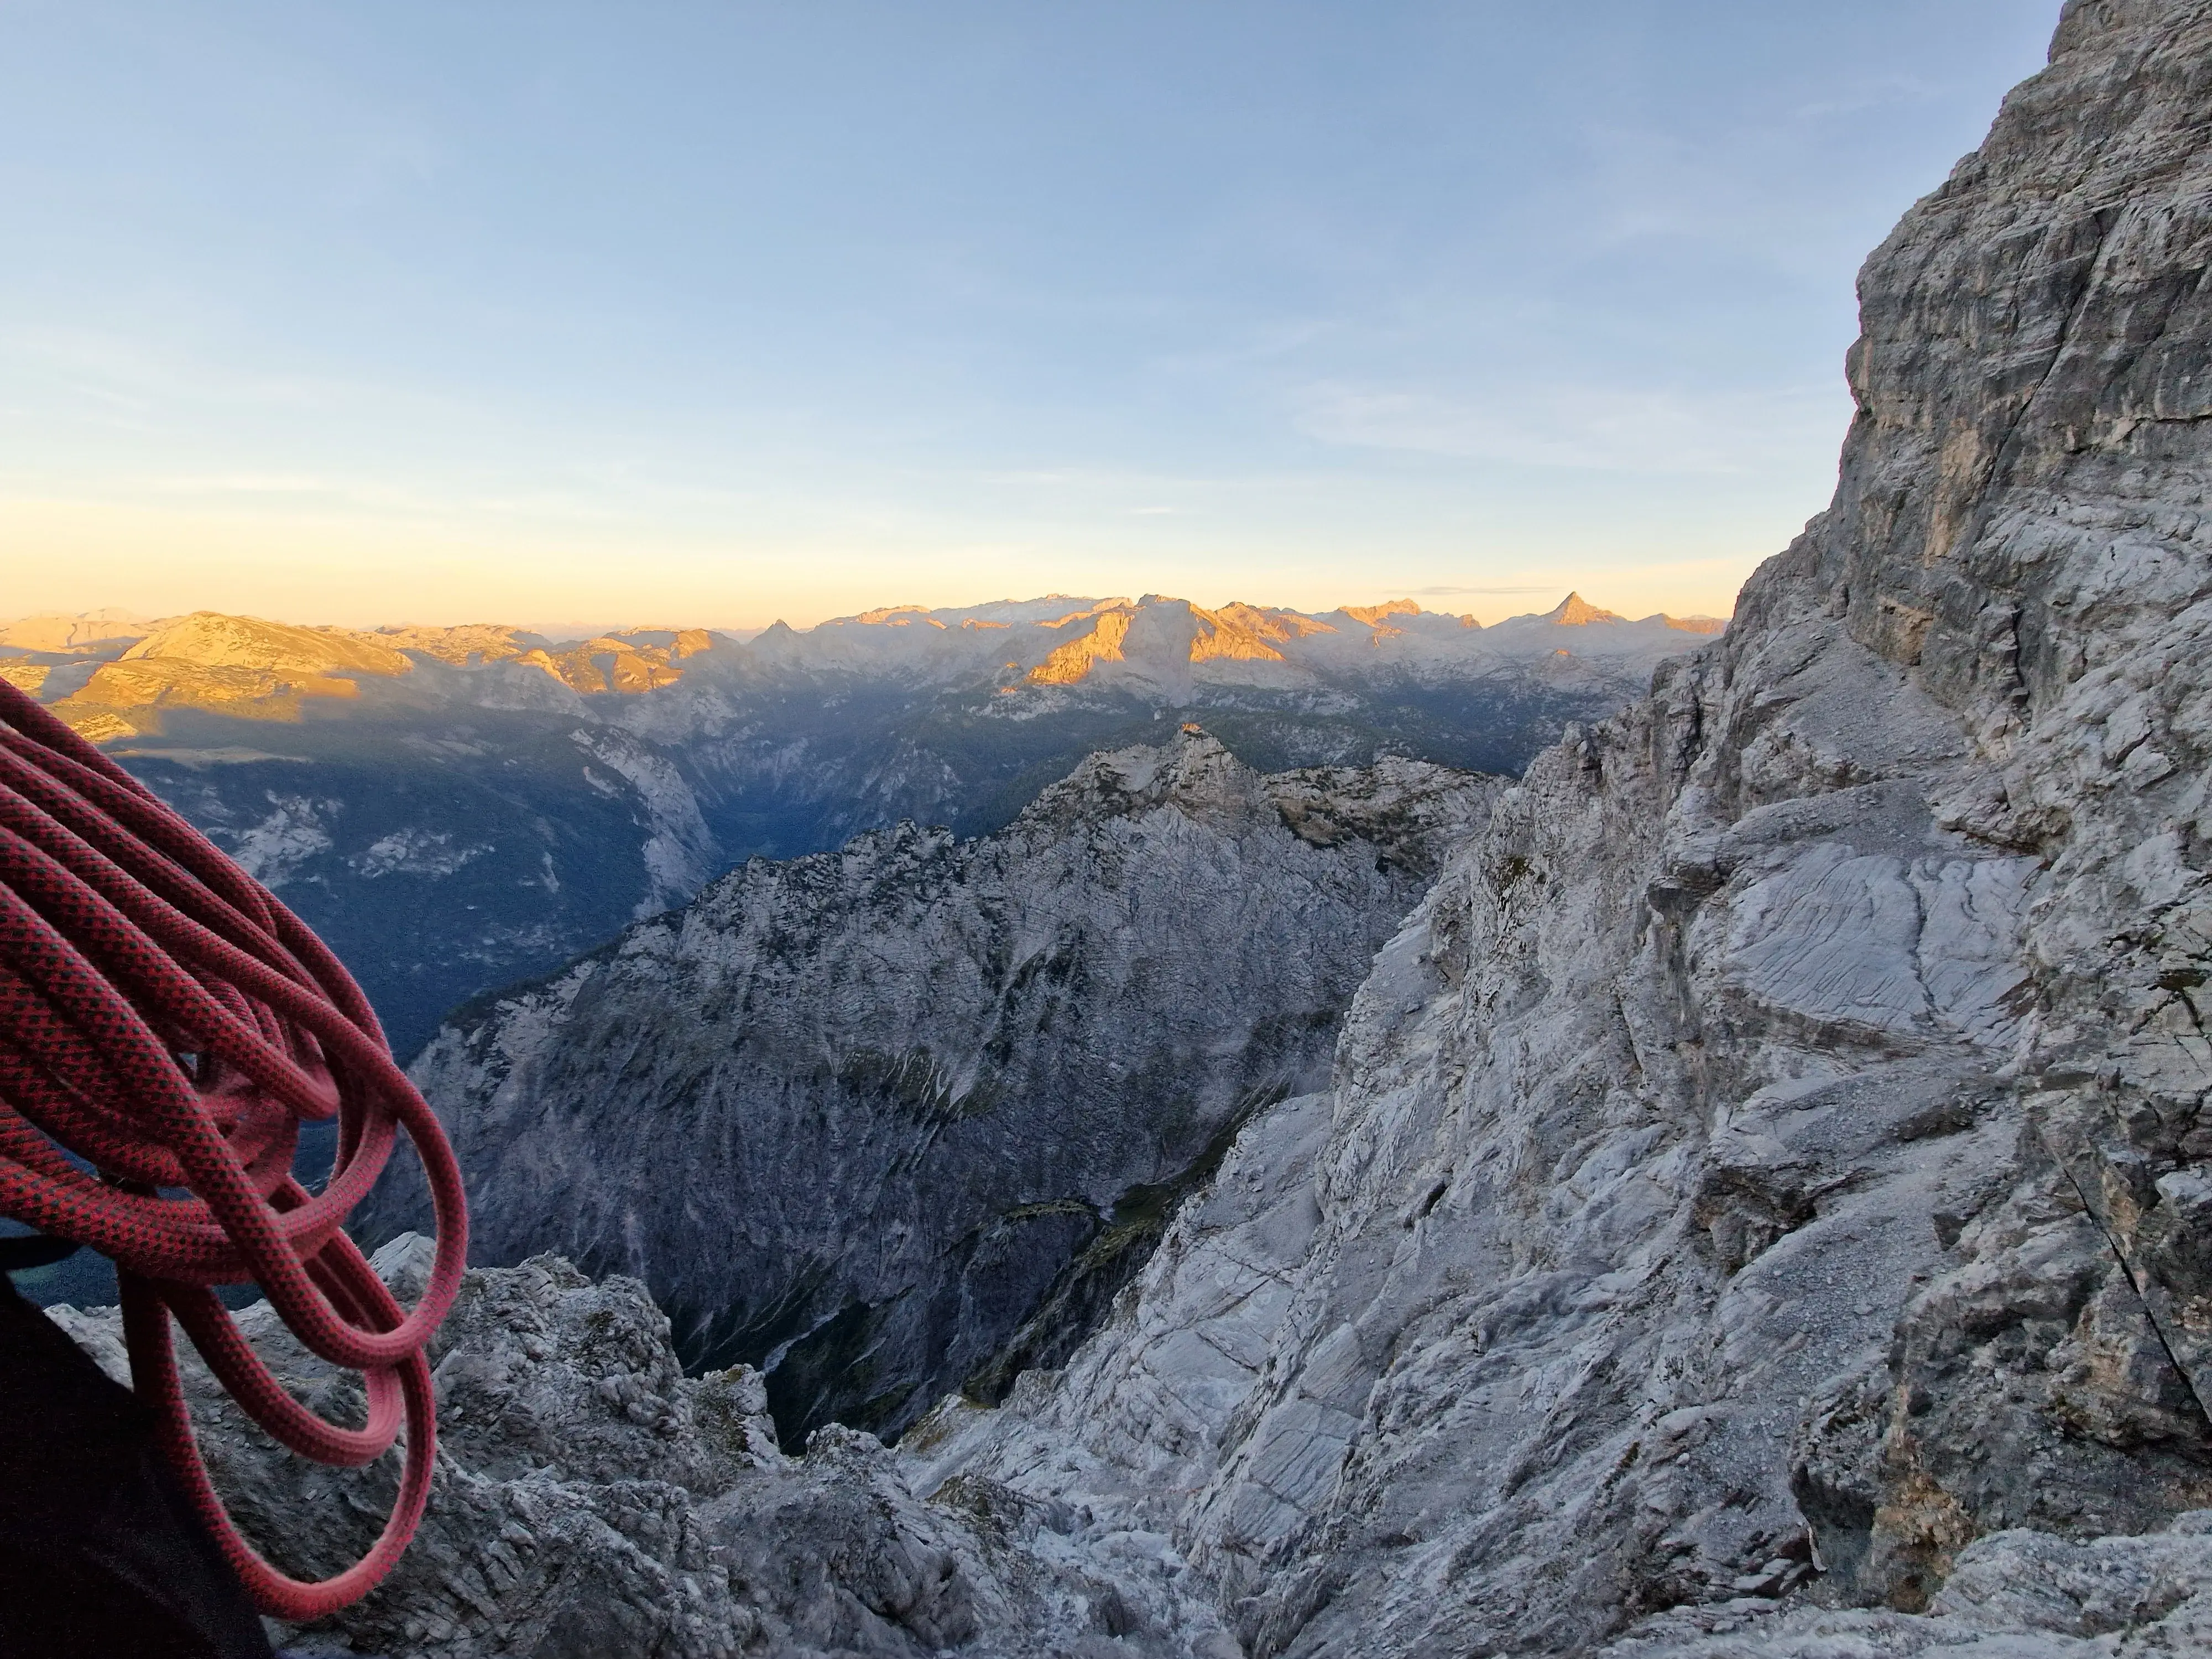
Early in the morning, we get into the car and head towards the car park at Königssee. We decided to split the face into two days, but the standard approach is to start before sunrise (4–5 a.m.) from the mountain hut at St. Bartholomä. Instead, we're heading towards St. Bartholomä on the first boat, at around 8:00 a.m. The good news is that even though all the boats appeared to be fully booked online, we were still able to buy tickets on the spot for around €12. We arrive at St. Bartholomä shortly before 9:00 a.m. and, without wasting much time, set off directly towards the Eiskapelle. The Eiskapelle is the lowest-lying ice field in the Alps, but we don't have time for that right now. It's around 10:00 a.m., and we're finally starting up the face. It's important not to get lost right at the start. The route is fairly easy to follow, provided we don't accidentally head into the steep couloir covered with melting snow.
Now, let's go back to the car and pack everything we'll need.
As mentioned earlier, we're looking at scrambling up to UIAA III+ and plenty of unprotected climbing, so it's a good idea to bring a printed topo of the route, have offline maps downloaded, and carry a written route description as well. The main thing is to pack as lightly as possible. Experienced climbers sometimes climb the entire face without any protection or technical equipment, but that comes with its own risks. Personally, I'd recommend bringing a rope anyway. A 40 m rope with a relatively small diameter is more than enough. We brought a Beal Joker 9.1, 40 m rope and only used it on the aforementioned UIAA III+ section because of the snow, our backpacks, and the overall exposure of the pitch. Having a rope also gave us a certain degree of security in case the weather unexpectedly changed or we encountered an unpleasant section. Beyond that, 3 quickdraws and a few slings should be more than enough. There aren't many places where you can actually protect yourself, but slings are essential. A prusik cord and an ATC-style belay device are also useful, and a helmet is absolutely essential, even if you decide not to bring a rope. I'd strongly recommend bringing a sling, a carabiner, and a harness even if you decide to go without a rope. We'll get to this later, but the upper section includes a grade B via ferrata. After completing the face, it feels like a walk in the park, but people coming in the opposite direction, occasional ice, snow, and polished rock make things a little more complicated. It's better to be prepared than regret it later.
Another essential item is water. From the Eiskapelle onwards, you're practically climbing in full sun, as if you were sitting on the terrace of a summer cottage, and there's virtually no water available on the face. We carried 5 litres per person, and it was just about enough.
Watzmann East Face
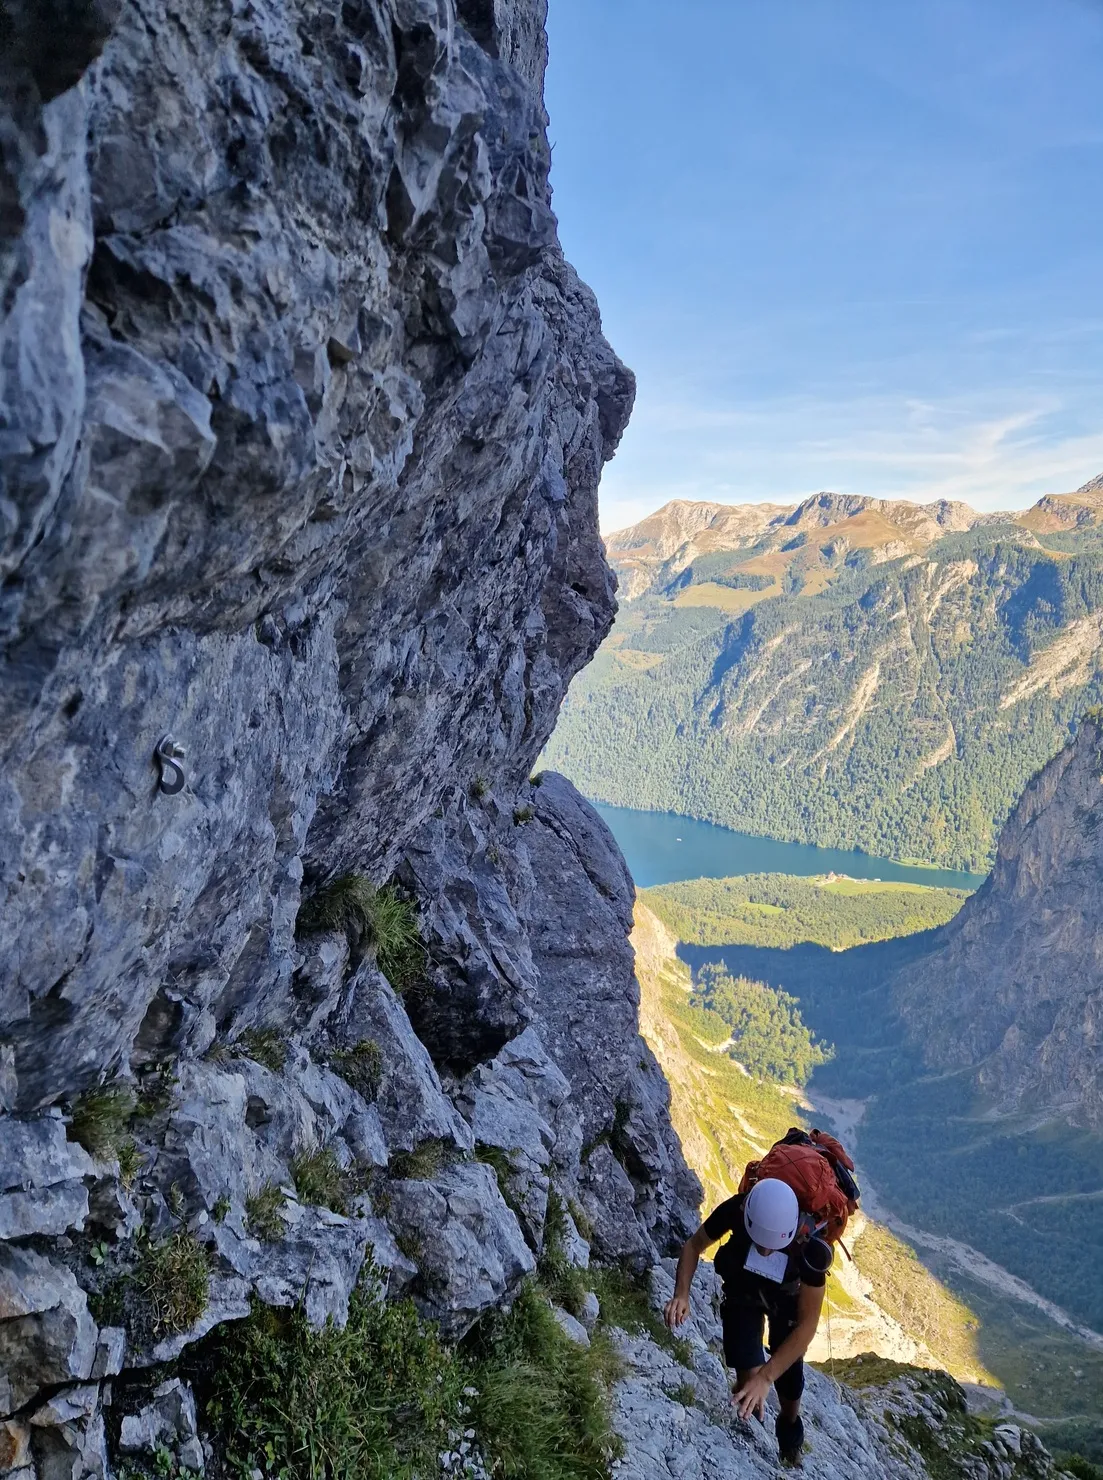
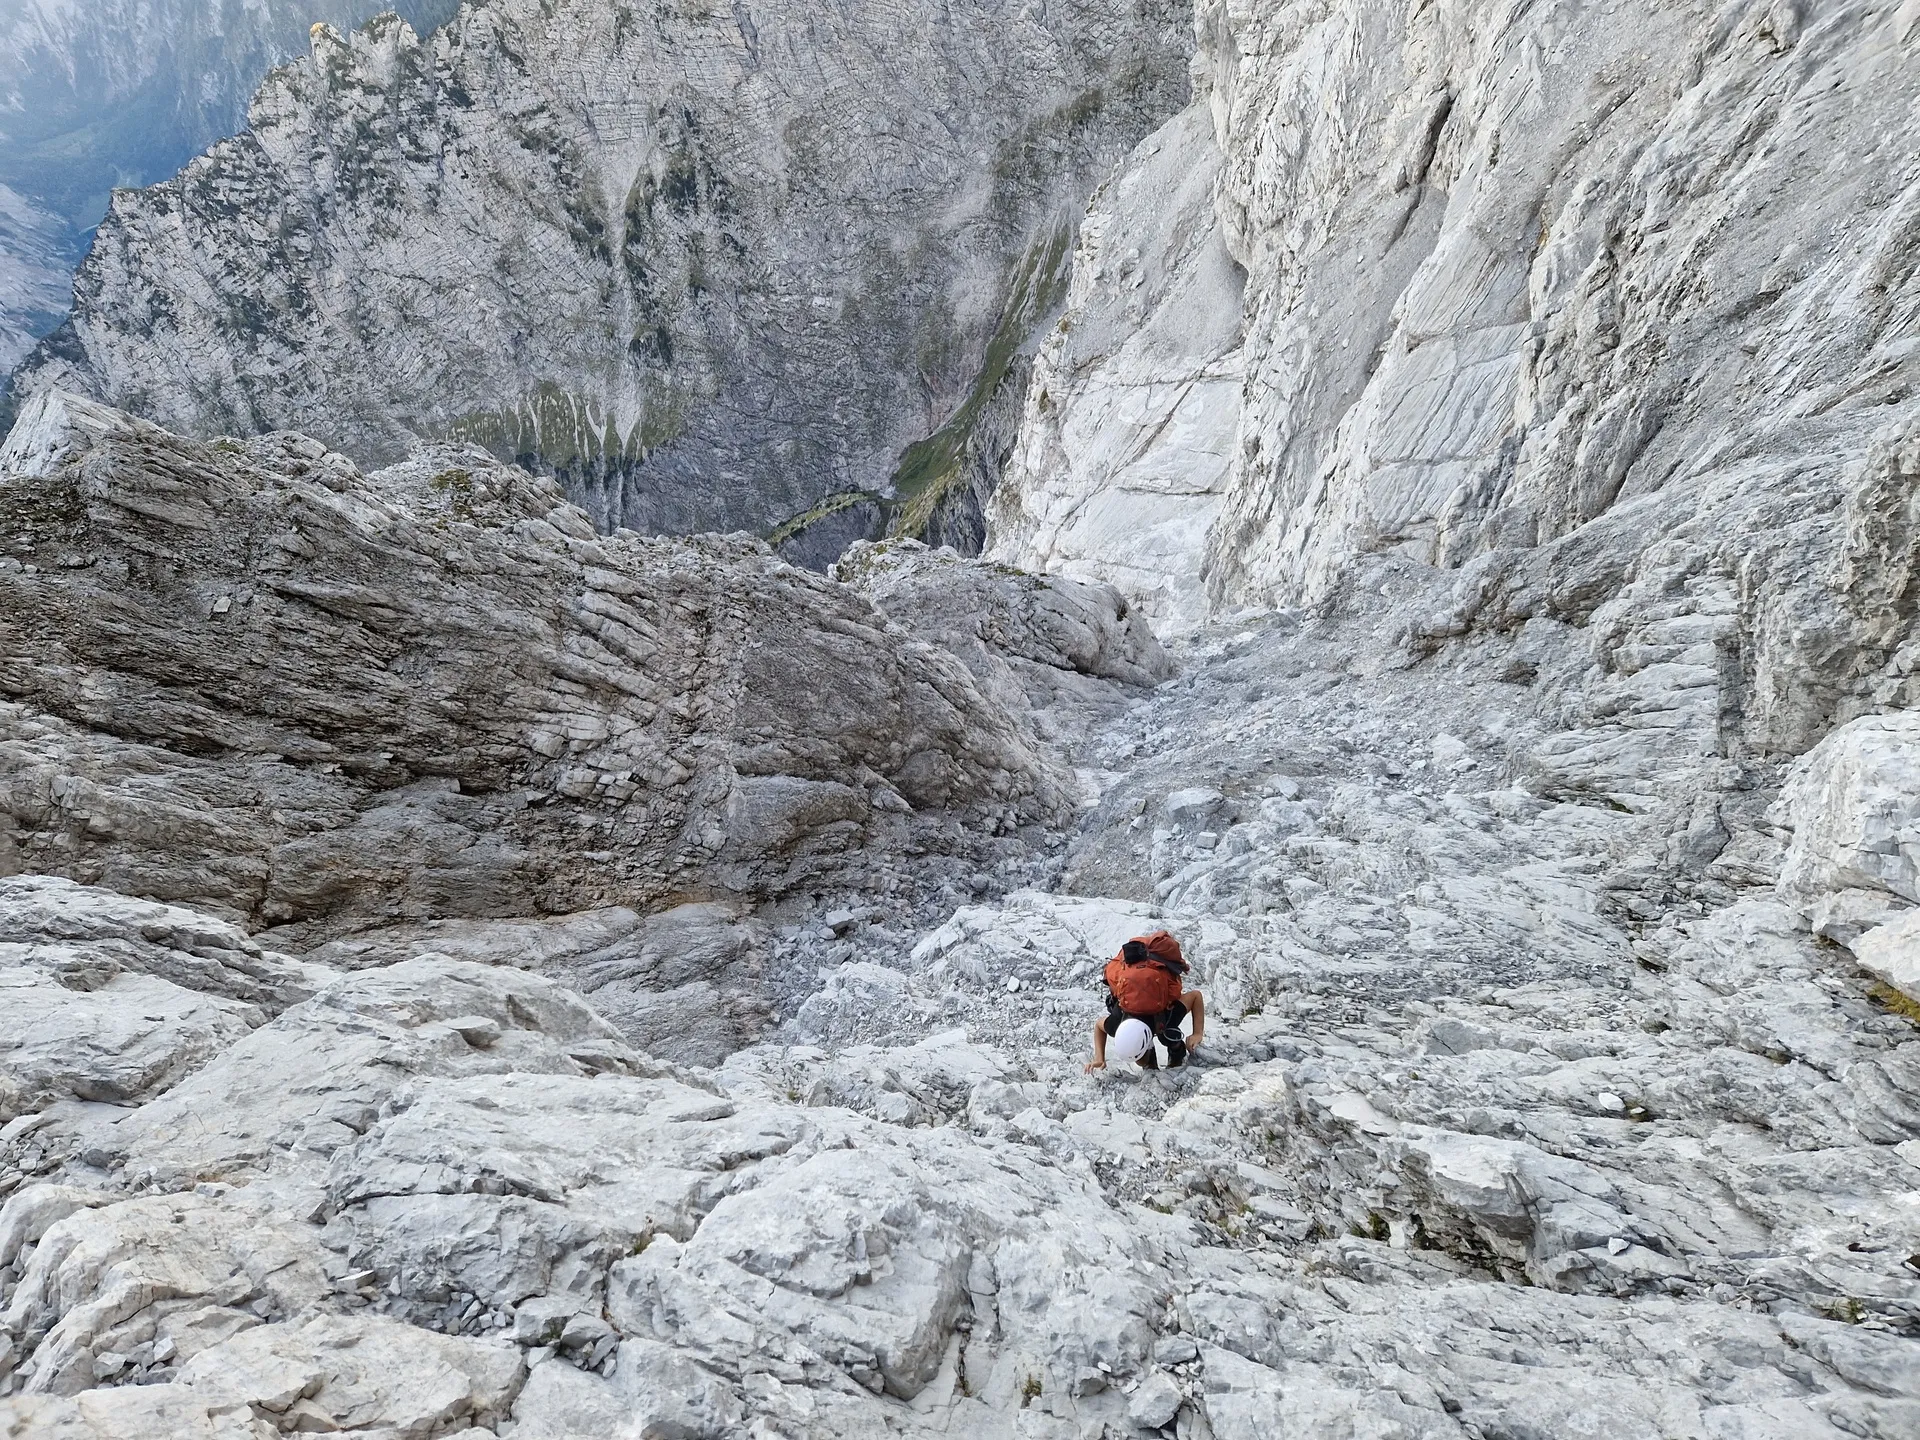
Great, hopefully I haven't worn you out too much, and we can finally get to the climbing. The first section is fairly easy to follow. We spend most of the time walking along a well-trodden path, and standard offline maps work perfectly here. In terms of climbing difficulty, we're talking UIAA I–II. It's relatively easy climbing on solid rock, with excellent footholds and handholds. When we reach a scree slope with a waterfall, we gradually turn left and upwards towards the face, climbing to the left of a smaller couloir before continuing upwards along the right-hand wall. This section can probably also be climbed via Sporn 1 (1,570 m), but we followed the topo, sticking to the right-hand wall and traversing upwards in the original direction. Between Sporn 1 and Sporn 2, we encounter the first slightly unpleasant section: a short slab rated UIAA II+, along with the first fixed protection. We didn't need to use it. A little below the directional arrow, we reach the first crux. There are longer, protected slab sections rated UIAA II–III, which are noticeably exposed. We climbed them along the path of least resistance. With confidence in our footholds, we didn't need to use the protection here either. However, this is already a section where parties routinely rope up. A mistake here could result in serious injuries at best.
The Arrow
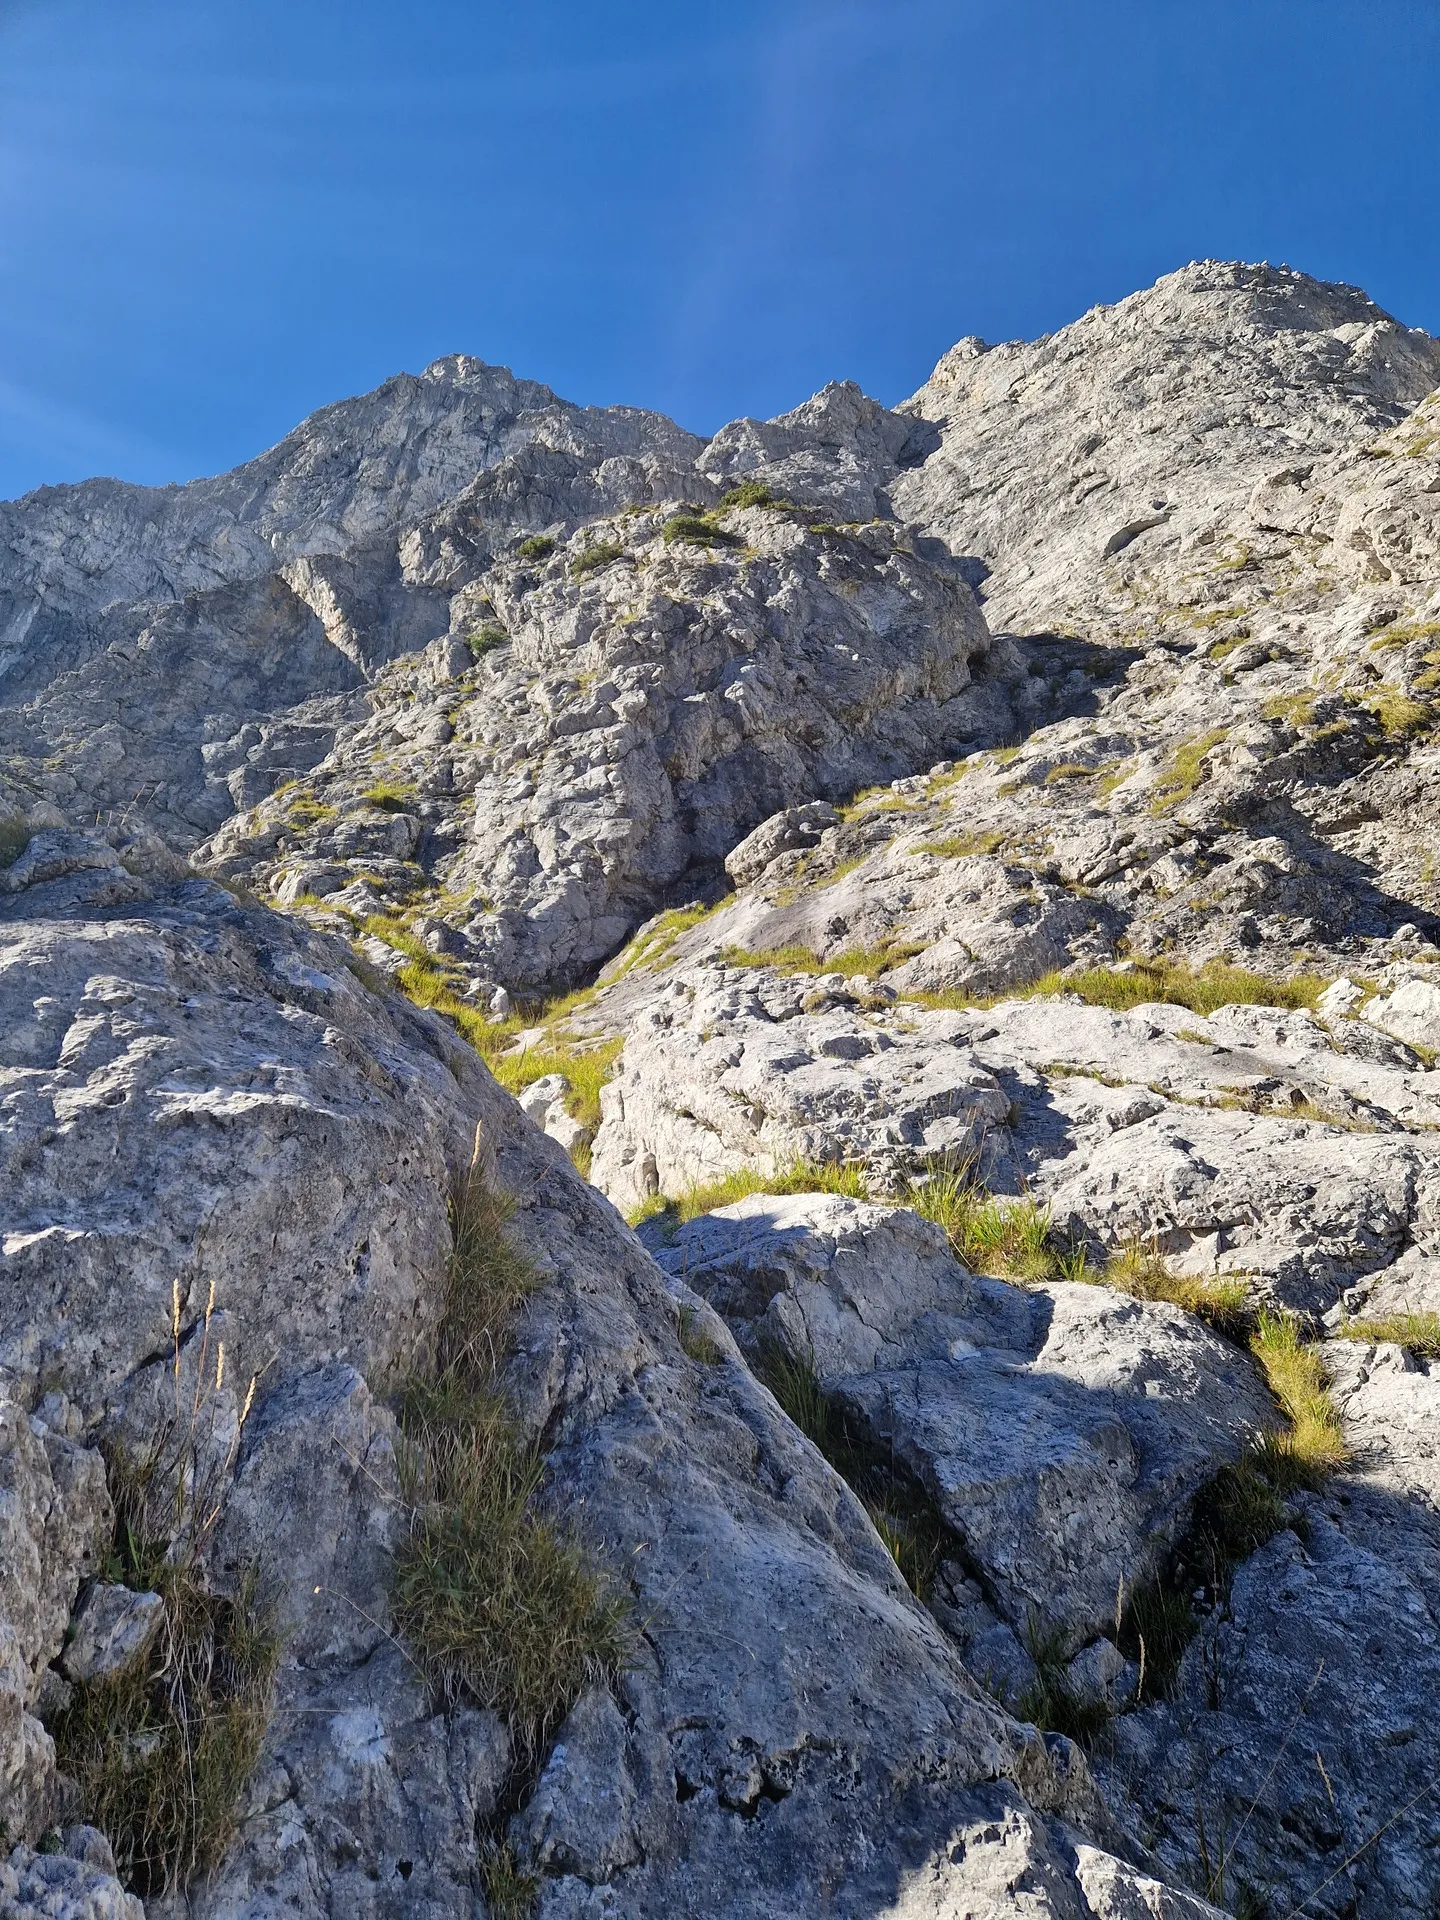
In terms of elevation, we're almost halfway up the face, but technically we're probably only a third of the way through. The arrow points upwards, and you might be tempted to follow it directly :D. However, you can save yourself some downclimbing by following the path along the ridge to the right of the waterfalls. At this point, we soon enter a longer couloir with pleasant, unexposed UIAA II climbing. Once again, we recommend taking the path of least resistance. At the end, we climb out towards the right, where a few slabs await us. The topo suggests bypassing them from below, but if you want to enjoy the climbing, there's a nice line a little further to the right. And then you suddenly find yourself below the first larger bivouac cave. From here, it's just a pleasant little overgrown scree slope. After the cave, there are a few more easy UIAA III sections, followed by a large lunch cave. Then comes what is arguably the most complicated section in terms of route-finding. Both Czech teams we met independently made the wrong turn here. The offline digital maps no longer correspond very well to the actual terrain, and the topo doesn't tell you much either.
We continued to the right, below the couloir following the waterfall, and climbed upwards from there. There were a few unpleasant sections, with plenty of slabs where you could barely use your hands, but it was manageable without protection. According to the topo, you then join a sort of deep, snow-filled gully and continue upwards. Now comes a very important spot. Suddenly, you find yourself in a gully full of rocks and scree. In front of you is a rock formation dividing the gully into two passages. You can go either left or right. On the topo, this spot is marked by a round boulder, although in reality, it's more of a sharp rock formation. Go left here if you want to save yourself a couple of hours and a lot of stress :D.
The left-hand section is very loose. In places, it's barely scrambling anymore and becomes proper, albeit relatively easy, climbing, where a poor decision can take a serious toll both physically and mentally.
So let's skip that section and take the right-hand option instead. Oh, look — the bivouac!
The Bivouac
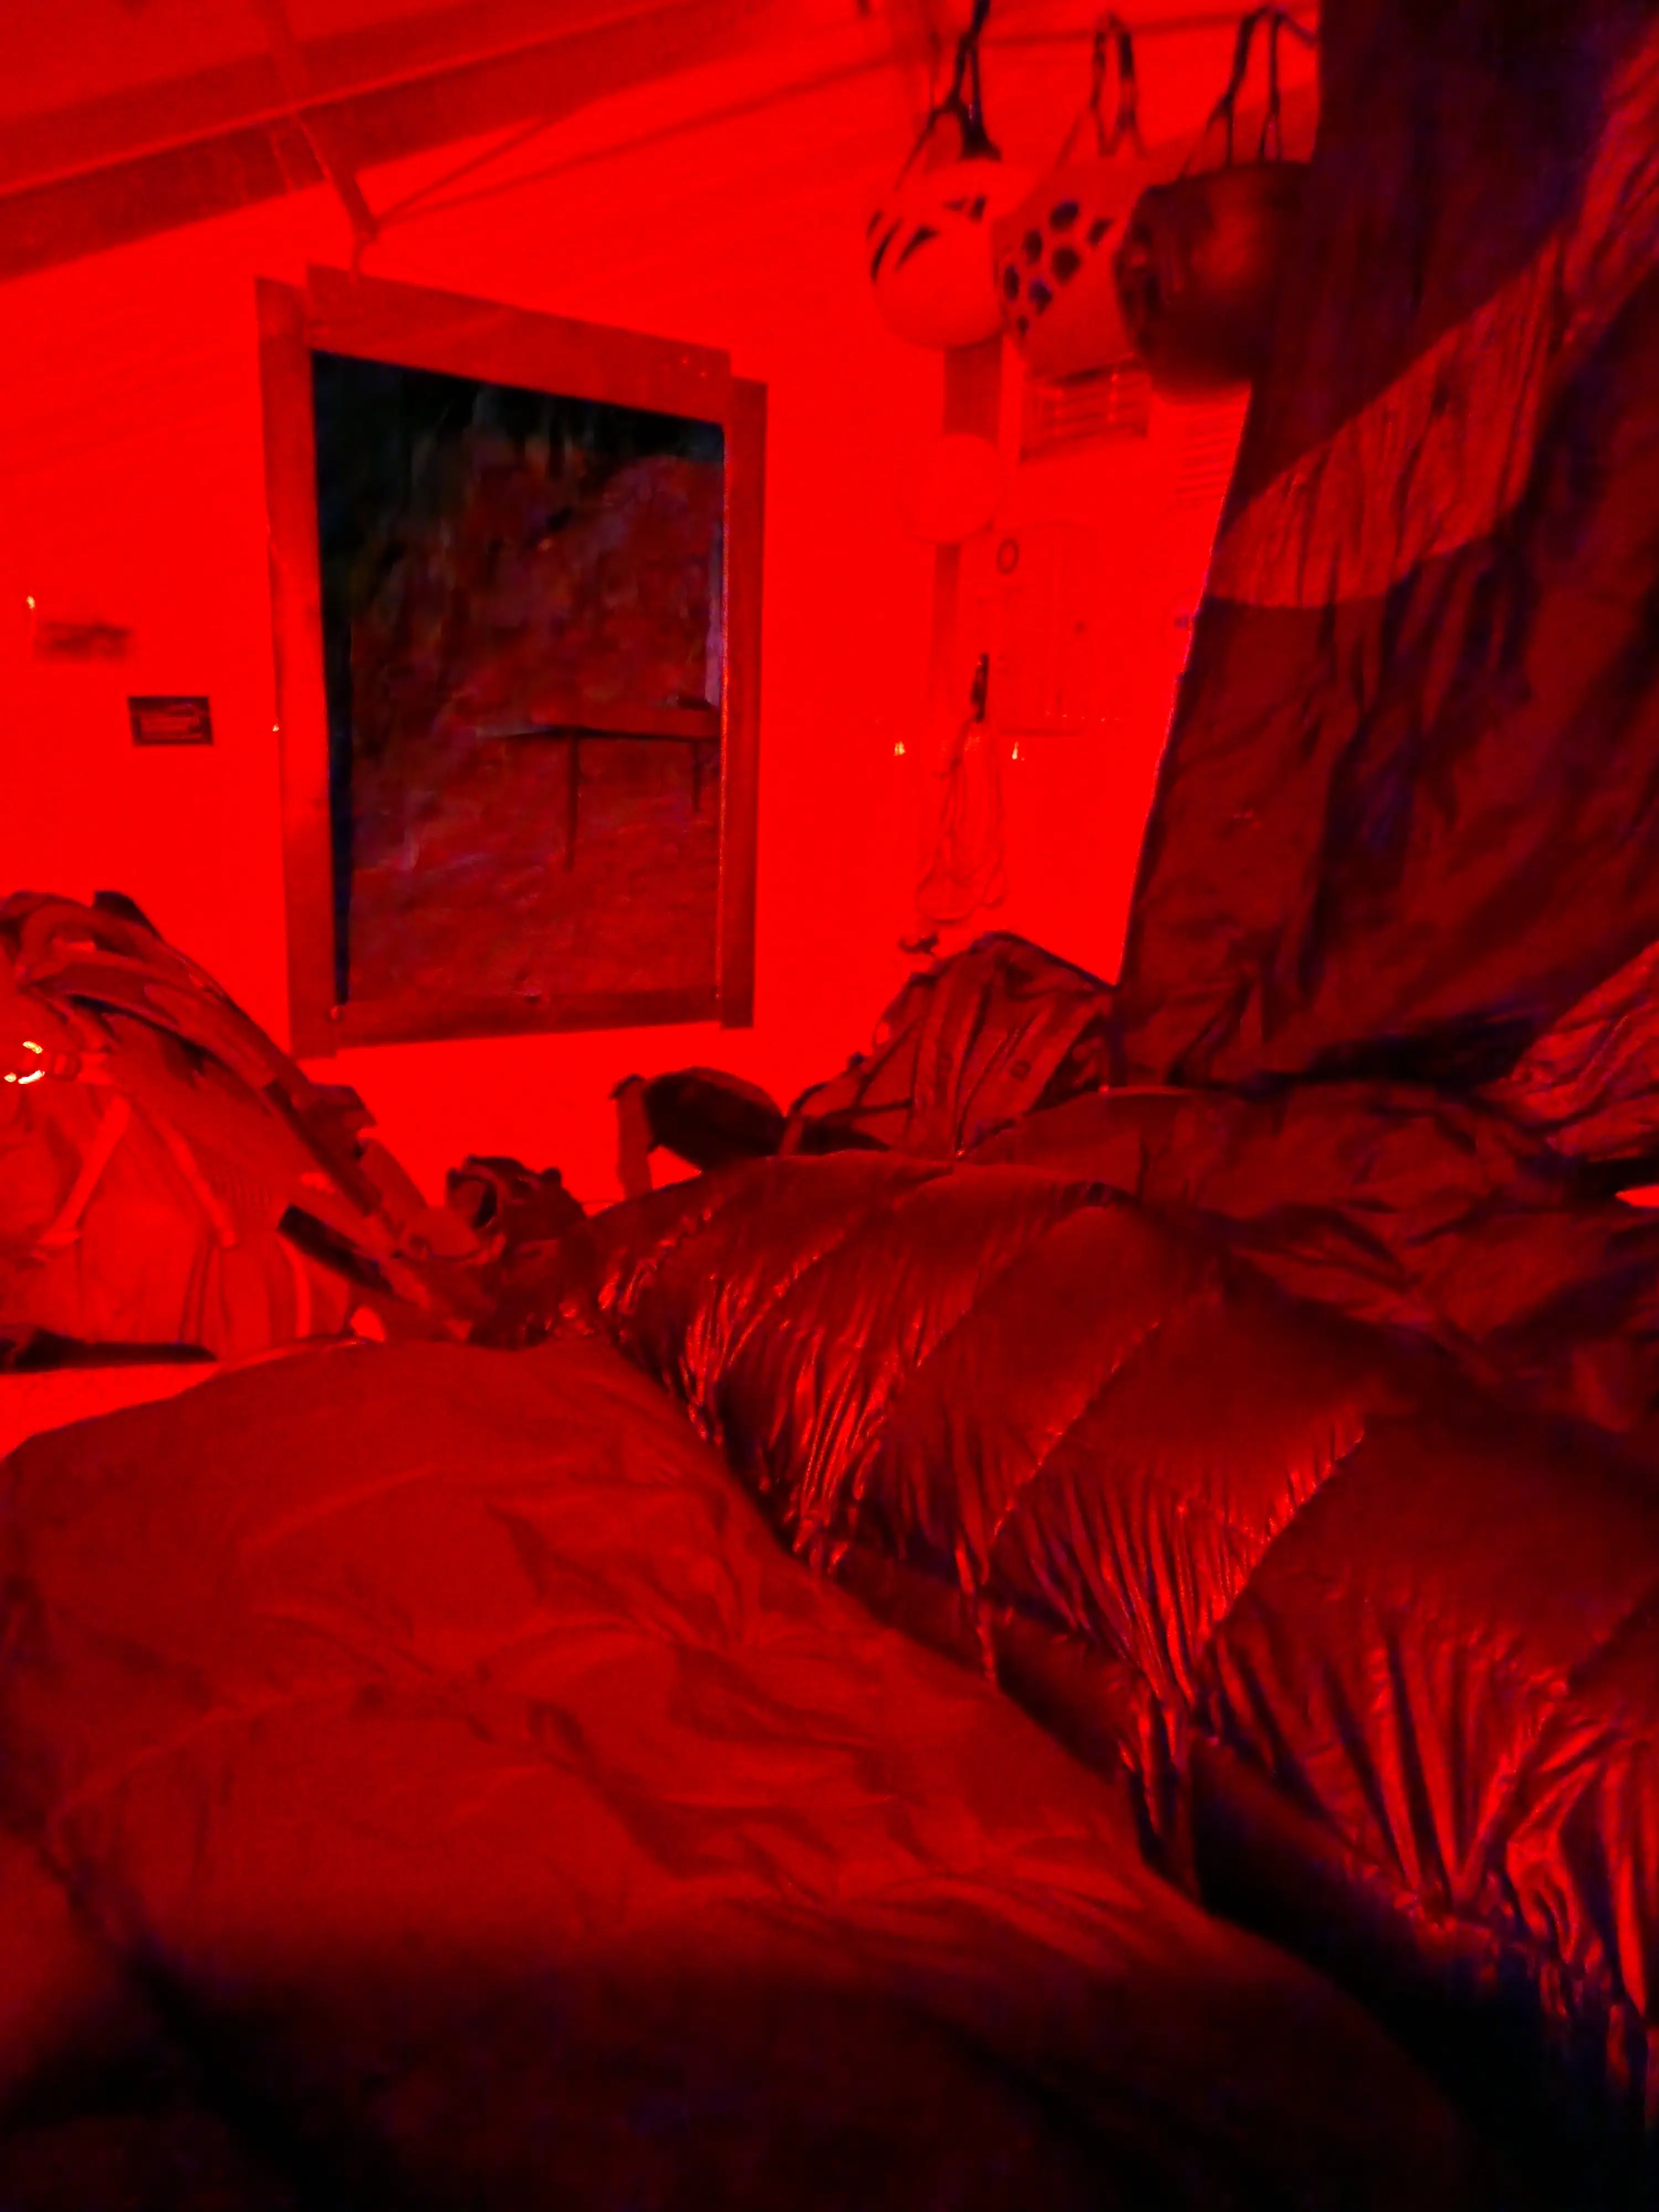
The bivouac is equipped with four sleeping bags and is officially listed as accommodating four people. We stayed there as a group of four, and it wasn't particularly comfortable, to say the least. It's probably a much better option for three people. There's not much room to sleep outside the bivouac either, as the little patch of ground next to it slopes quite steeply downhill and, well, below it there's a drop :D. For us, this was a place to rest and the starting point for our second day. However, if you arrive early enough — around 2.5–3 hours before sunset — you can continue towards the ridge and follow the via ferrata to a second, more comfortable bivouac at the end of the ridge between the Watzmann peaks. Under snowy and icy conditions, with climbers coming in the opposite direction, the via ferrata itself takes around two hours without stopping for chats. Climbing the remaining section from the bivouac to the ridge takes another 1–1.5 hours. From here, route-finding felt much more intuitive, and the climbing was enjoyable.
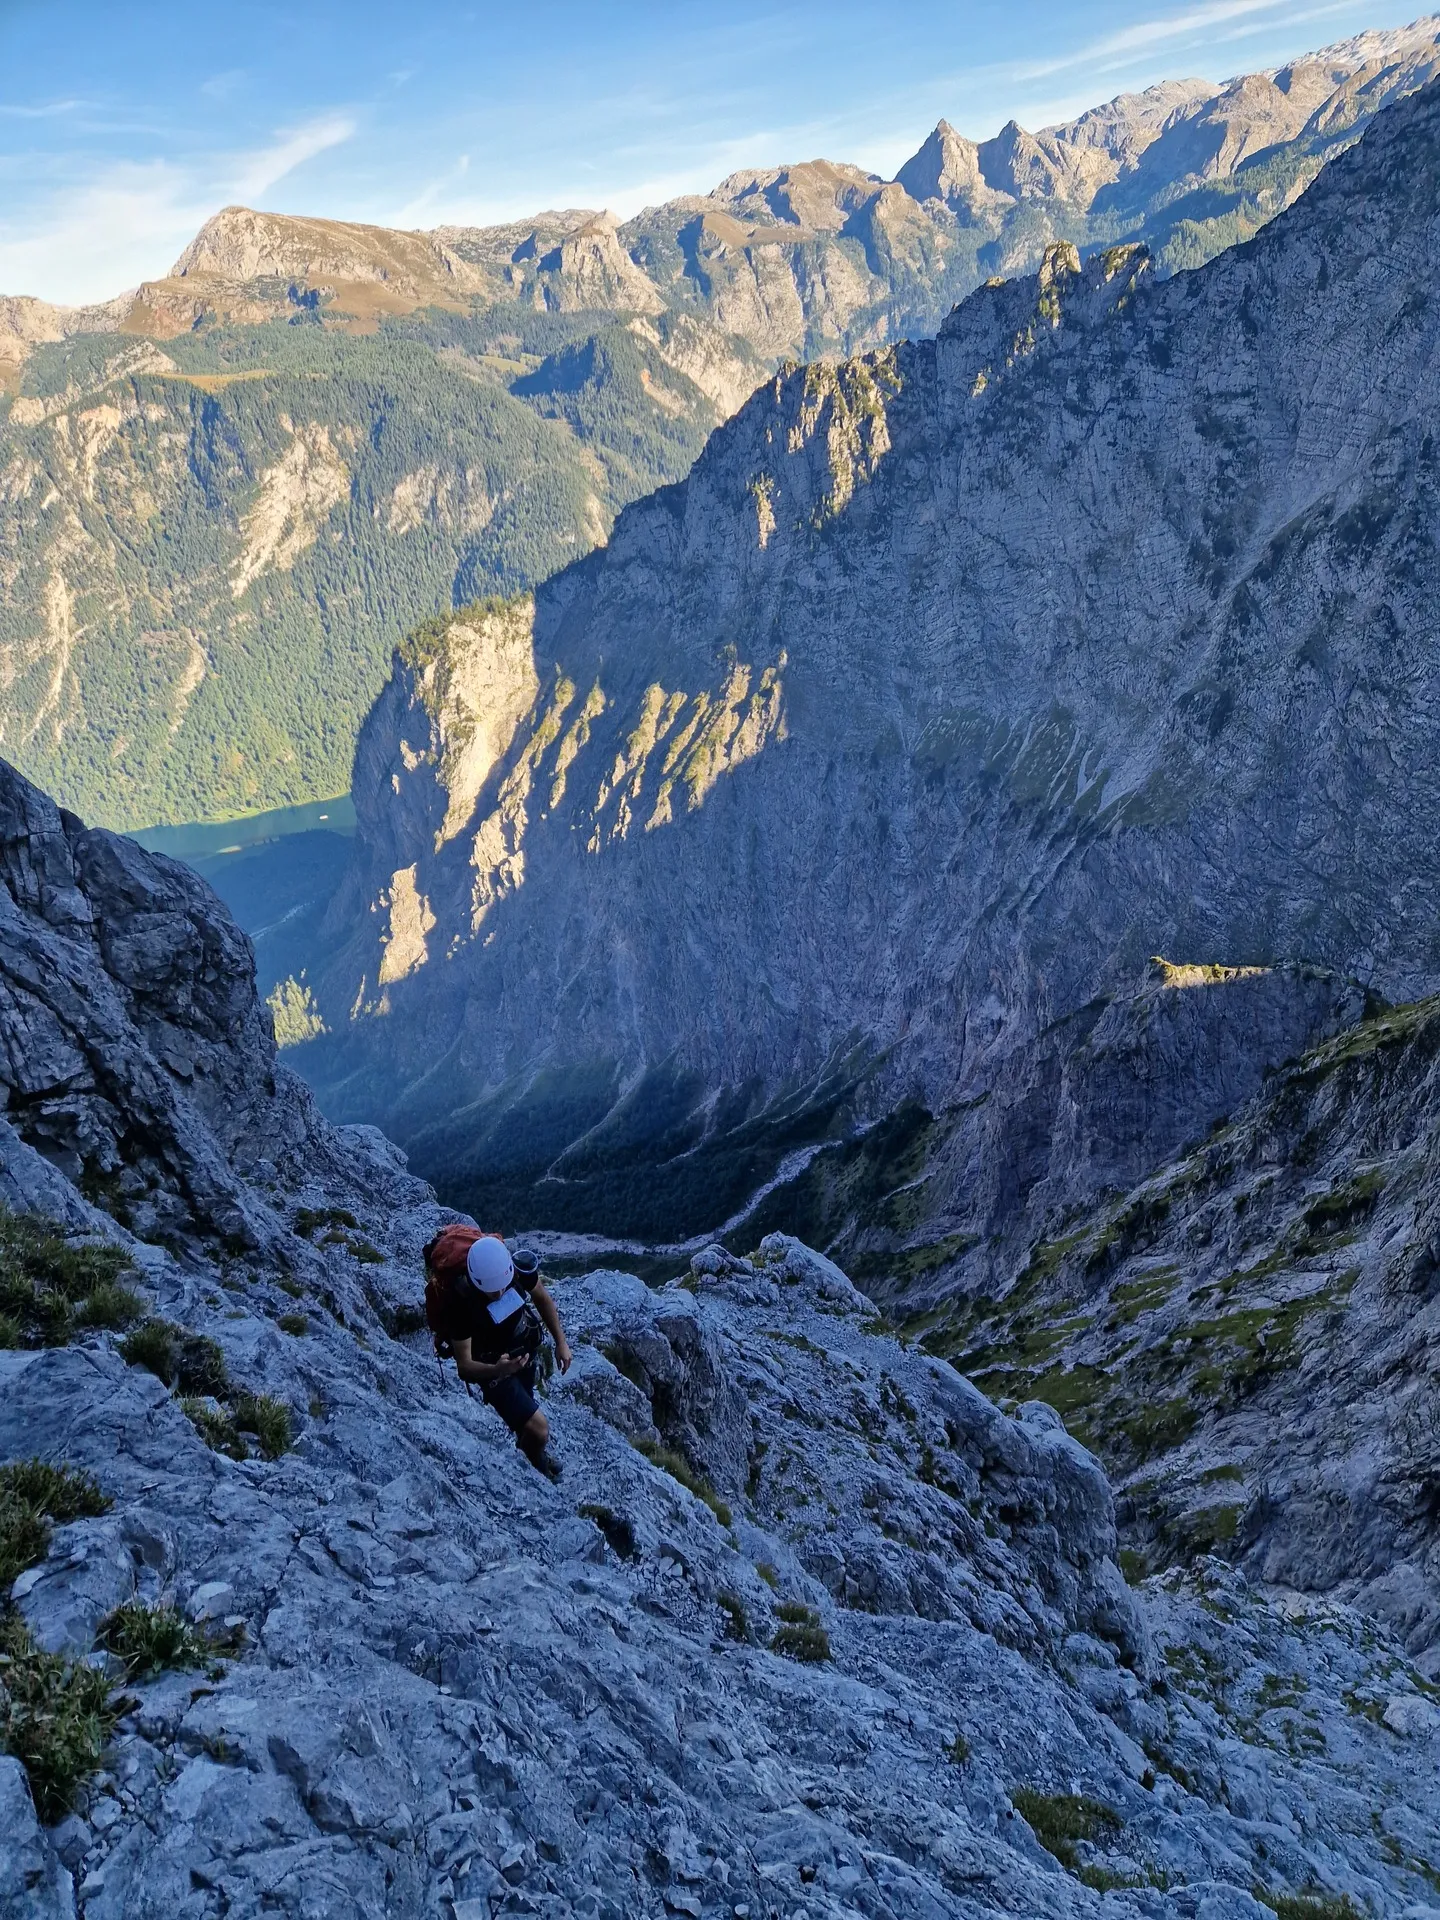
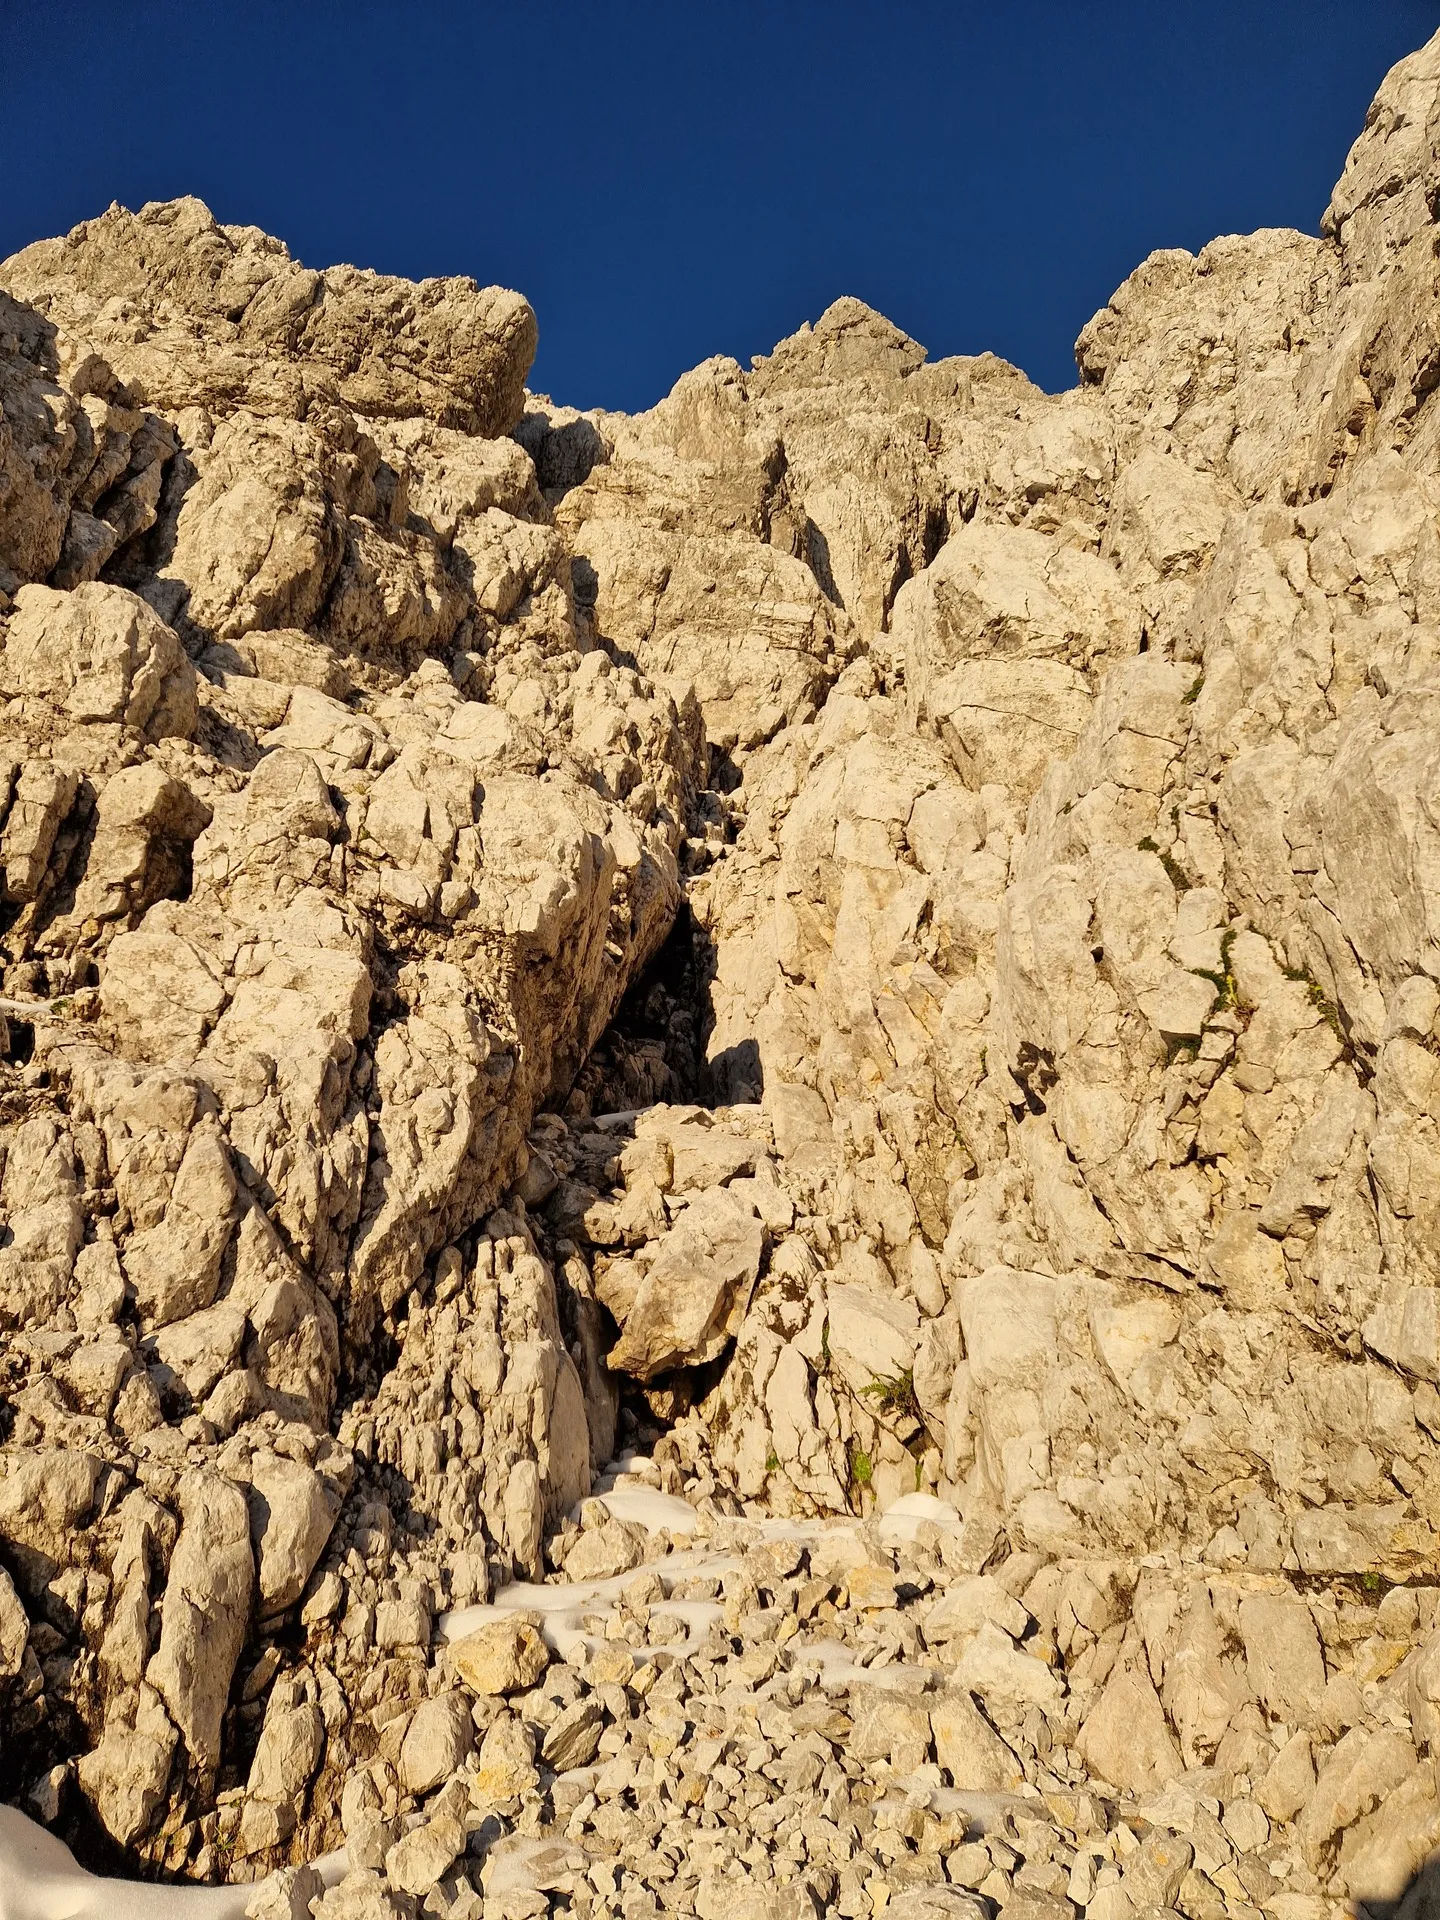
After leaving the bivouac, you climb towards the right for a short while, then turn around and continue towards the left, following the path of least resistance. Then, almost at the end, when you can no longer continue forwards, you head upwards. There's a move requiring a high foothold, which feels like UIAA II+, and the couloir gradually opens up in front of you. You follow this couloir all the way to the crux itself. Just below the crux, there's a small scree slope where you can check that you're on the correct route.
Once you've crossed the scree, climb upwards, and immediately to the left you'll find the crux of the entire route, rated UIAA III+. The whole section is very well equipped with fixed protection. There's a bolt hammered into the rock and a sling threaded through a natural anchor. The crux itself... well, there's a drop beneath you. By this point, you're probably used to that, but fatigue is starting to catch up with you too. It comes down to a single move where you need to use smaller footholds in the rock, pull yourself up and reach for the holds above. There are some nice pockets lower down, but the rock above is relatively featureless. Once you're standing on top, the rest is easy climbing. I'd recommend protecting yourself on this section. A 30 m rope is enough, and there's a nice ring anchor above that you can use for belaying. The entire crux should theoretically be possible to bypass on the right, but we had an icy snowfield there, so the risk wasn't worth it. The final section is very easy, and before you know it, you're standing on the ridge, looking out and thinking, "Yeees!" — only to realise that we still have to get all the way over there?
Via Ferrata
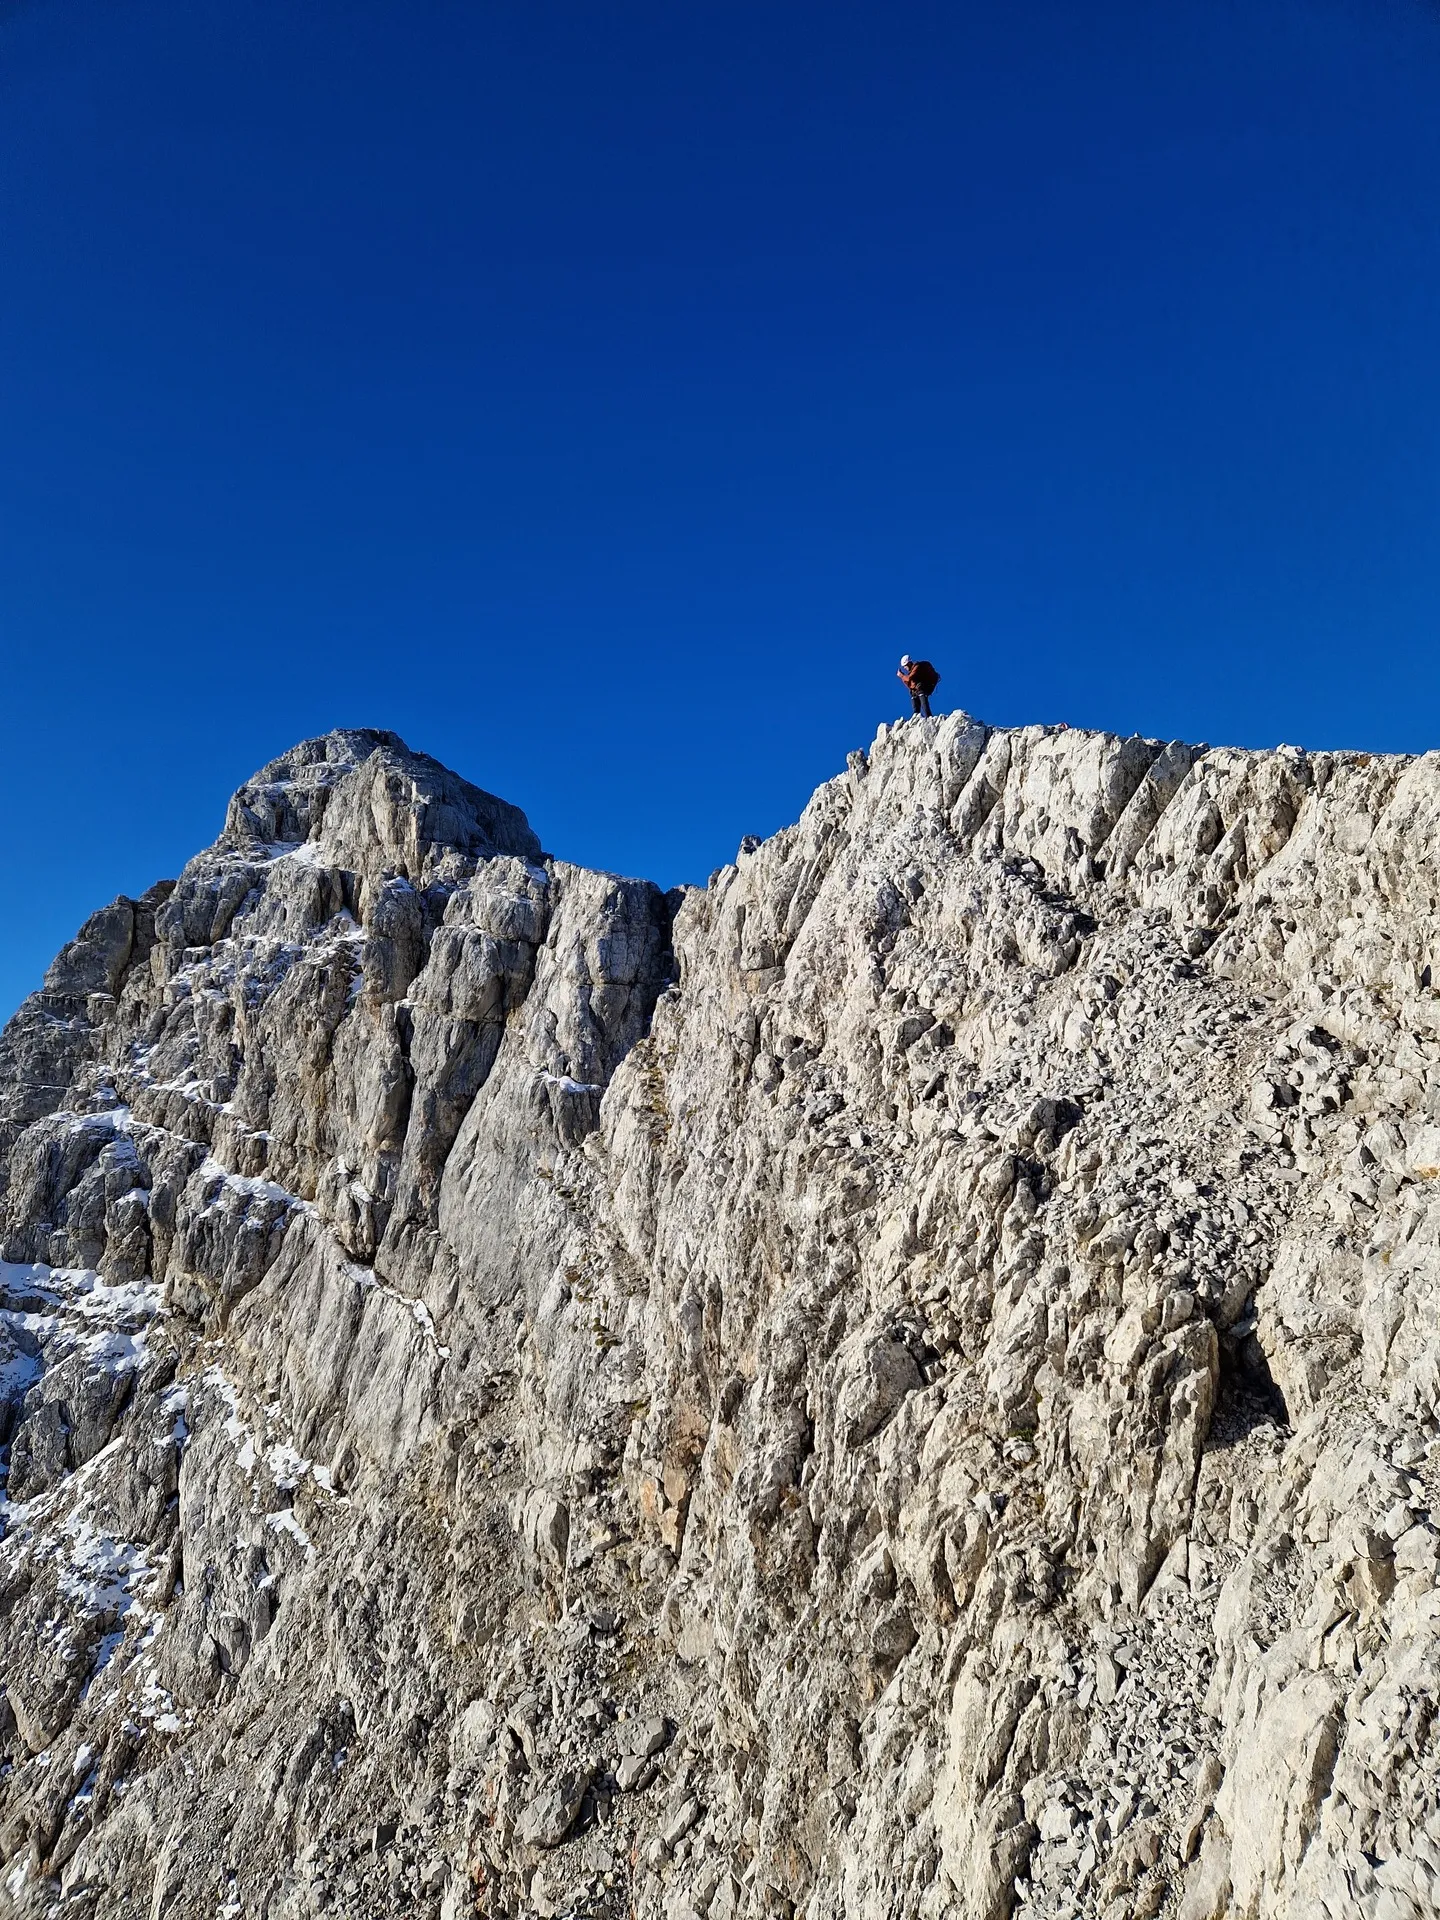
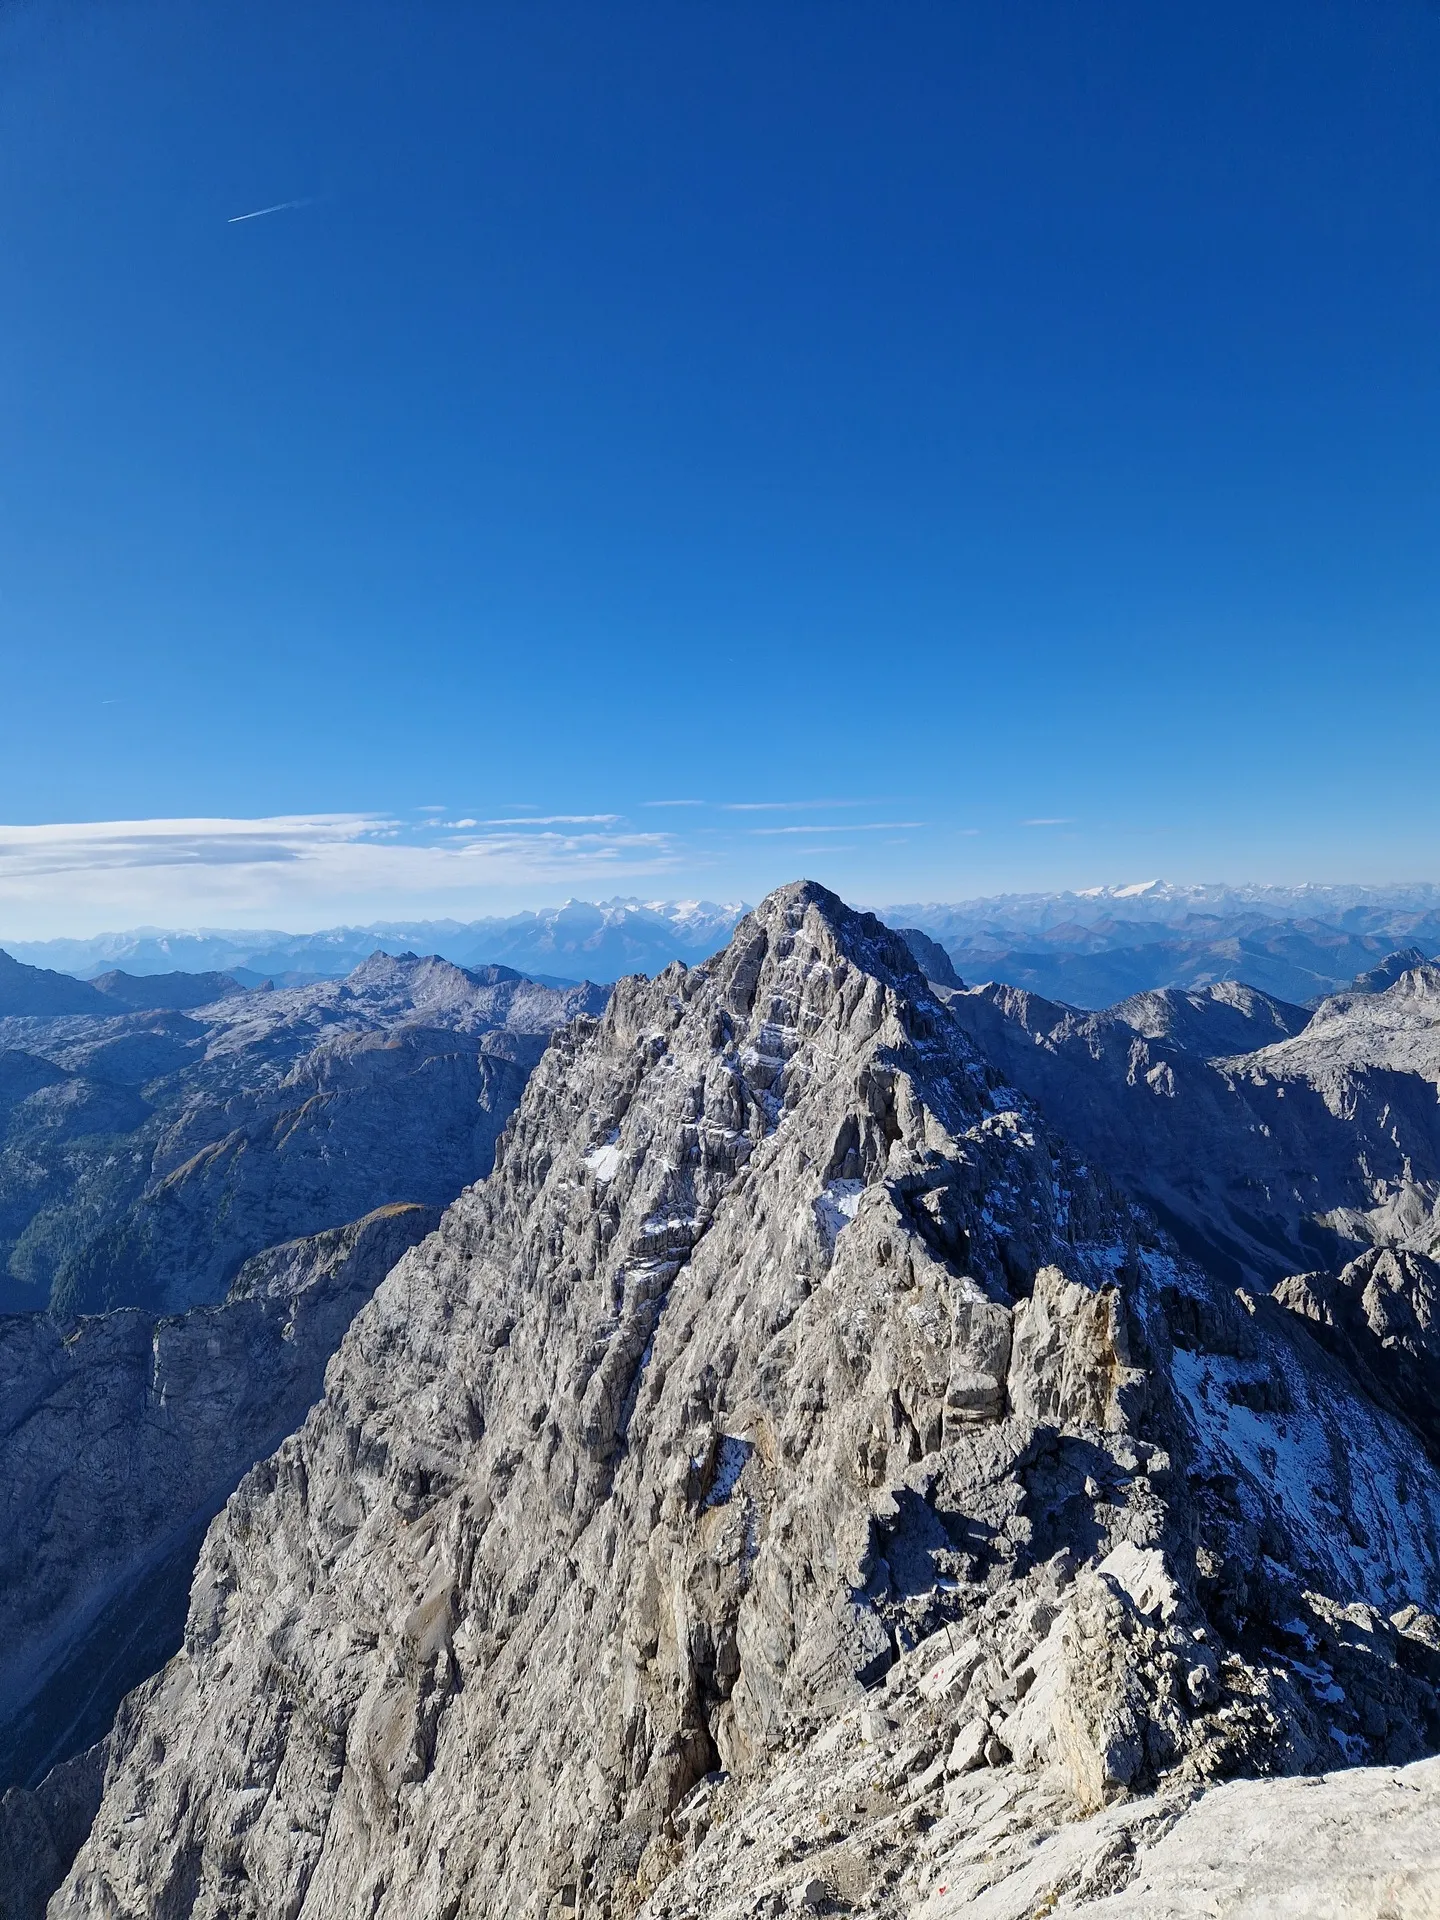
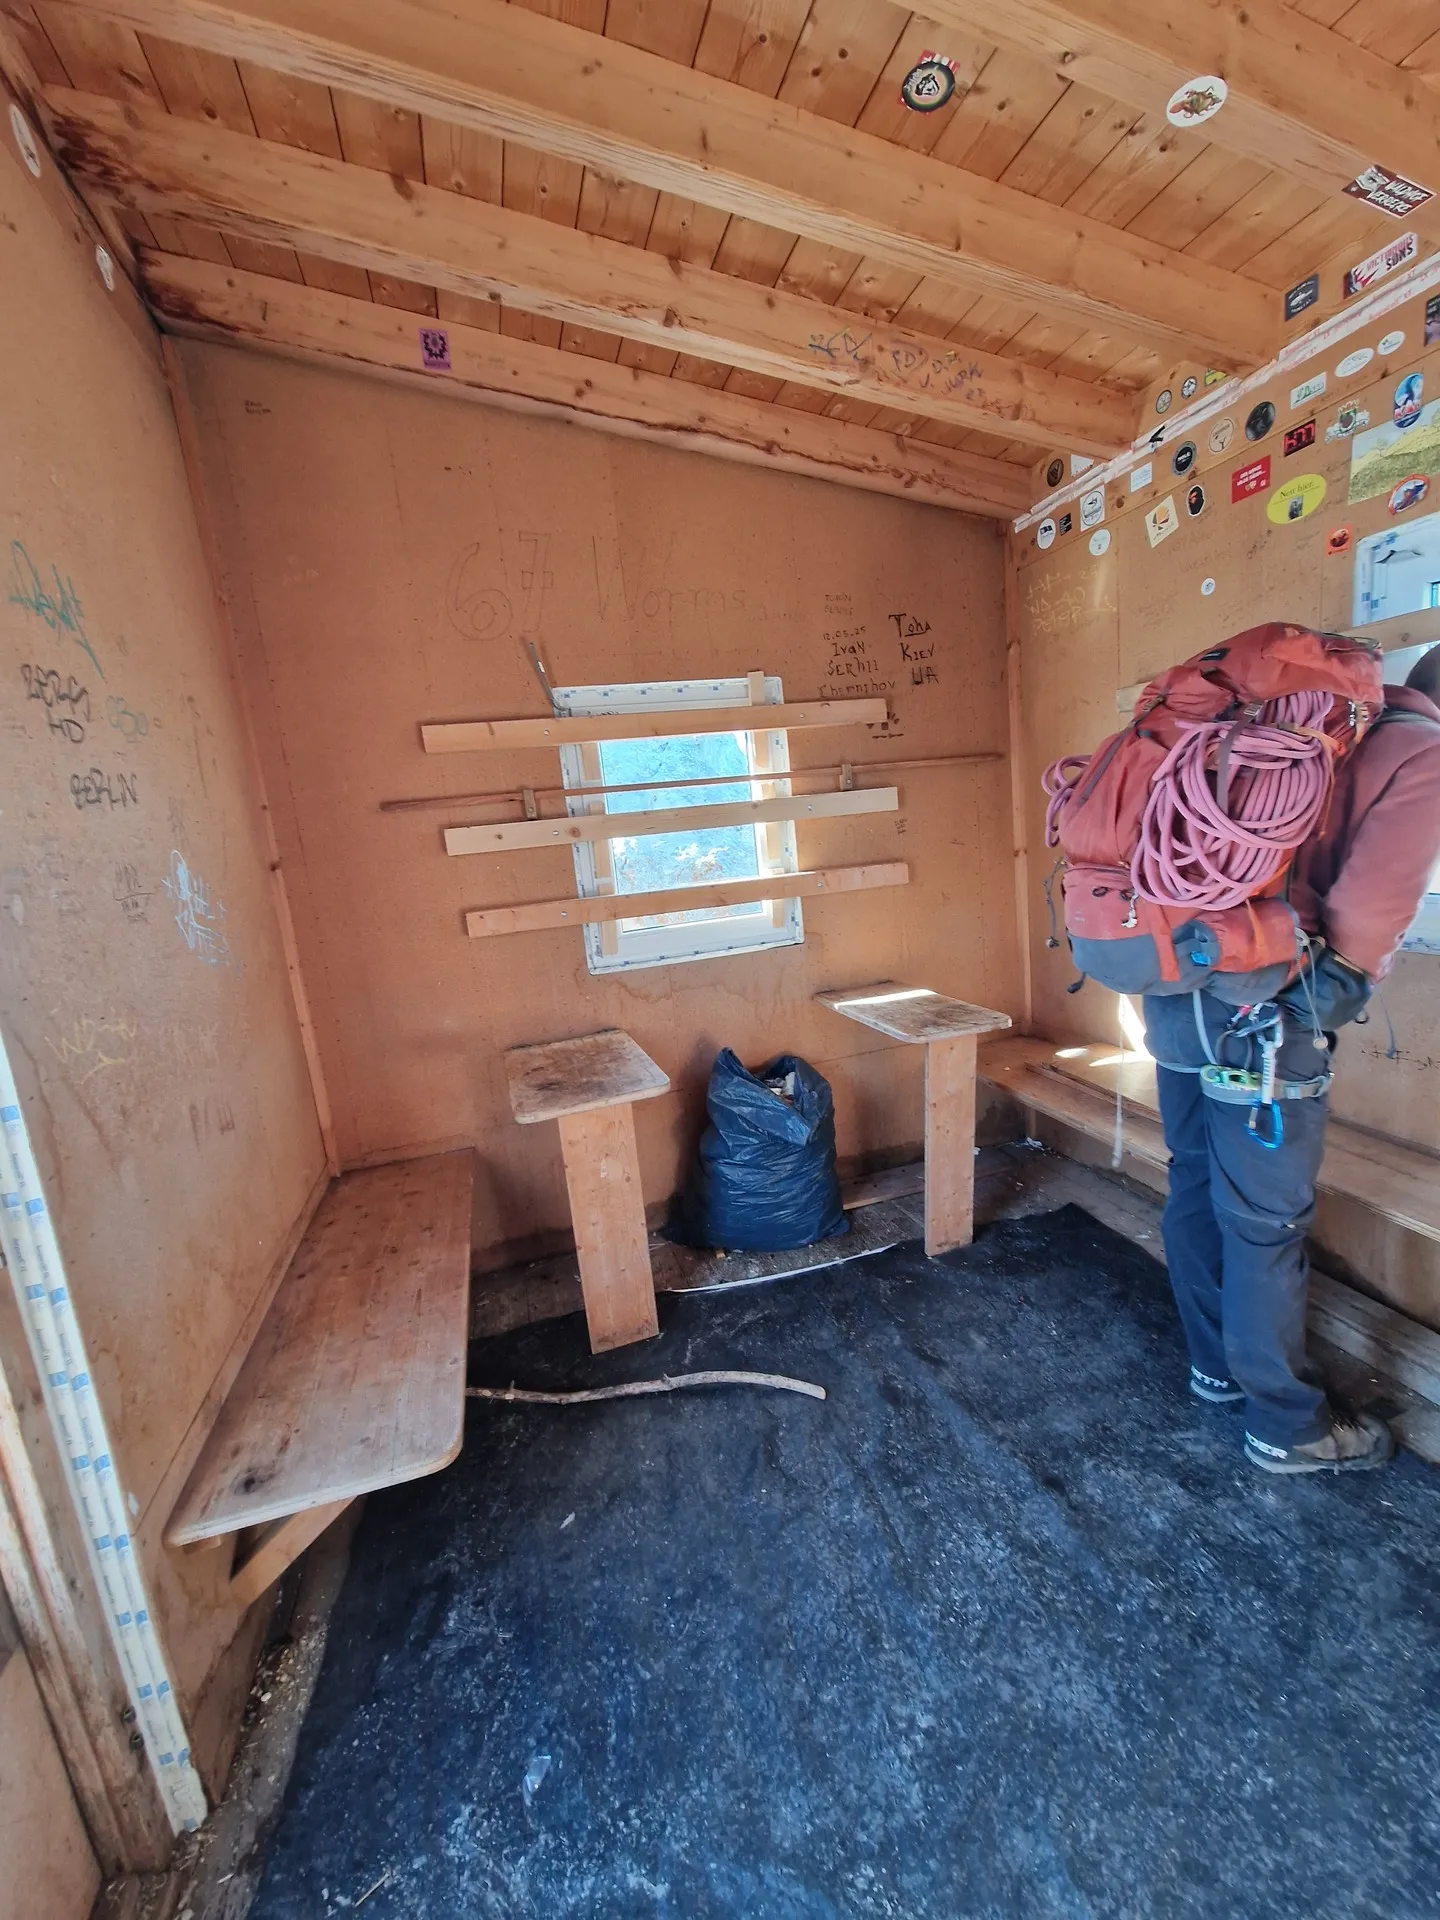
The via ferrata is normally climbed in exactly the opposite direction to the one we want to take. However, the official guide recommends this option in good weather, so why not give it a go? The grade B sections feel very manageable by now. The ridge is quite exposed, and there are frequent sections where you walk along the edges without any protection. Well, the western side can already be quite icy and lightly snow-covered in early autumn. Still, with a slower pace, the whole section can be completed in around three hours, including a few chats with people coming in the opposite direction :D. At the end of the via ferrata, there's a fantastic bivouac that comfortably accommodates 5–7 people. And from there, all that's left is to descend those 2,300 vertical metres :D.
Descent
First, descend the scree slope towards Watzmannhaus. From there, continue downhill and follow the trail to the right towards Kührointhütte. From here, head towards Königssee along a gravel road. Your knees are the only things that really suffer. From the bivouac to the bottom, it's approximately 11 km to the centre of Königssee. Allow at least four hours for the descent if you're moving at a brisk pace.
What to bring
Something to look forward to
Ready to join?
Contact me directly for more information
 Ready to join?
